Category Archives: Gluten Free

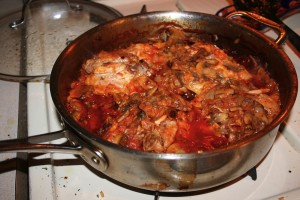
Grandma Jo’s Chicken with Mushrooms

Grandma Jo’s Chicken with Mushrooms

I’ve come to the conclusions that you know a recipe is going to be really good when it’s made by a grandma, who has cooked it for her family for 50 years, never written it down, and says she just adds a little of this and some of that.

This is my adopted grandma, Grandma Jo…that’s right, she’s not related to me by blood. She adopted me and Matt as her adopted grandchildren and we adopted her as our adopted grandma. Its kind of a long story of how this all came about, but long story made short: We met Grandma Jo through the Adopt-A-Grandparent program that I helped run in college. Because I was heading up the program and running the events I wasn’t going to adopt a grandparent myself, but Grandma Jo said “nonsense, you need a grandparent too.” We hit it off right away and felt like we had known each other forever. At the time, all of my grandparents had just passed away and I really missed having grandparents. Grandma Jo had always wanted grandkids. So, this was all perfect timing and we’ve been her grandkids and she’s been our Grandma Jo ever since.

Grandma Jo, a seasoned cook, full Italian heritage and born in Chicago in 1920, has stories better than any screen play ever written. She often has us over for dinner, cooking her homemade recipes, we listen to old records, play dominos, and talk to her about the decades past. Grandma Jo has so graciously shared many of her recipes with me and this is one of my favorites.

This one she just calls Chicken with Mushrooms. Its an Italian recipe that’s full of flavor and fairly simple to make. So, I hope it could become a staple recipe for you, like it has for me.
Ingredients:
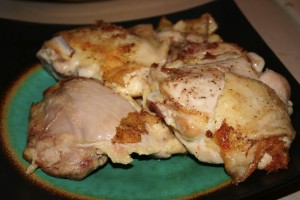
1 package of chicken thighs (anywhere from 2 to 3 pounds worth)
3 tablespoons olive oil
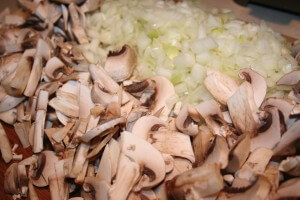
1 container mushrooms, sliced
1 large onion, diced
1 small can of tomato sauce
Fresh parsley, chopped, add to taste
Salt and pepper to taste
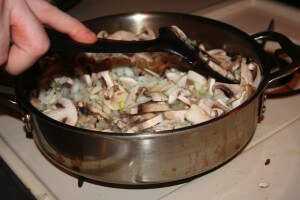
Directions:
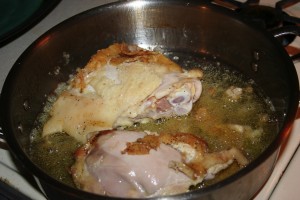
1. Wash chicken with water and salt and pepper. In a large frying pan add olive oil over medium heat and carefully add chicken thighs, skin side down. Brown chicken thighs on all sides. (To avoid oil splatter you can remove the pan from the heat and lay the chicken thighs down gradually)
2. Remove chicken thighs and set aside.

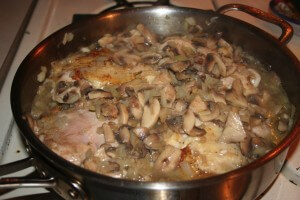
3. In the same pan sautee mushrooms and onions. You may need to add a little olive oil if they start to stick. Heat until the onion is translucent.
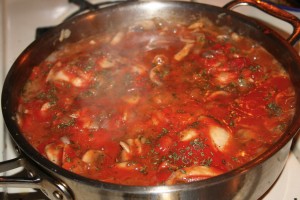
4. Add the tomato sauce, 3/4 of the tomato sauce can of water, the chicken and parsley into the frying pan. Mix all together and cover on low to medium heat. Cook for 45 minutes, turning the chicken over at least once. Adjust salt and pepper to taste.

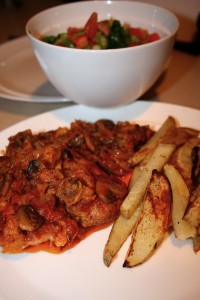
5. Serve chicken on top of pasta or with a side of oven baked potato wedges. This recipe serves 4 people. Enjoy!

Thanks to Grandma Jo for sharing her delicious recipes!
Allergen Free Cupcake Tasting

Allergen Free Cupcake Tasting

Who doesn’t love cupcakes? I know I do. Well, today I had the privilege to take part in an allergen free cupcake tasting.

A friend of mine, Cheyne (pronounced Shane), is a cake artist who is just beginning to launch an allergen free line of cupcakes. Cheyne turned his passion for creating beautifully sculpted cakes into his business called Compelling Cakes. He not only creates beautiful occasion cakes, but bakes delicious cupcakes, or so I heard from everyone else because I could never eat them.

After telling him my personal frustration and disappointment of finding gluten free baked goods that contain eggs and dairy (other top allergens) at local bakeries, he decided to create an allergen free line that both me and another allergen free friend could both eat. He’s been working hard at perfected his allergen free line of cupcakes and his hard work has paid off.

Cheyne held his first allergen free cupcake tasting earlier this afternoon at Cafe Firefly in downtown Algonquin (IL), where Cheyne’s cupcakes and other baked goods can be found. He invited the local allergen free crowd to sample his cupcakes and can I just say….yummm!

I just had to share this beautiful arrangement that John Regan of Twisted Stem Floral in Crystal Lake sent along to Cheyne to congratulate him on his new line of cupcakes and to have in the cafe for the tasting. Its a gorgeous arrangement and looks great on the cafe’s counter. Great addition to the tasting; I just love flowers!

At the tasting I got to sample Cheyne’s allergen free chocolate cupcake, salted caramel cupcake, and chocolate bourbon cupcake. It was a delicious afternoon! The cupcakes were actually moist, light and fluffy and the icing was smooth and sweet. Texture is always difficult with allergen free baked goods, but Cheyne nailed it. I’m so excited to be able to actually go to a coffee shop and buy a cupcake! Another simple joy added back into my life.


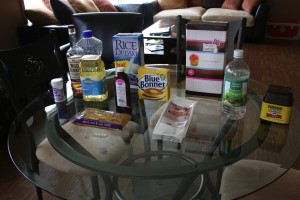
At the tasting Cheyne had all the ingredients out that he used for the cupcakes, just in case there were any questions. Great idea when you’re baking for people with food allergies.

His allergen free cupcakes will be for sale really soon, so make sure to follow him on Facebook (Compelling Cakes) to stay tuned. Or stop in to Cafe Firefly to check out the regular cupcakes he has available right now.

Even better, if you’re in the area (Algonquin, IL) next week you can take part in the second allergen free cupcake tasting he’s having. The tasting will be held next Tuesday, March 28th at 10 am at Cafe Firefly . Please let Cheyne know if you plan to come by dropping him a line on his Facebook page, Compelling Cakes. Thanks to Cheyne for the tasty allergen free cupcakes this afternoon. As a part of the allergen free community thank you, thank you for giving all of us another option!

*Compelling Cakes allergen free cupcake line stays away from gluten, eggs, and dairy. Please follow up with Cheyne at Compelling Cakes on Facebook for more details.

Delicious Gluten Free Bread

Delicious Gluten Free Bread

I have to confess that this week I’ve been thoroughly enjoying rediscovering why the American diet consists of so much bread…I mean, I can’t eat gluten so its “Special Bread” but its still bread none the less. After all bread can be made into toast, used to create a delectable sandwich, or eaten as a side with soup. And I’ve really been enjoying it this week.

If you’re like me and you are gluten free, then you know what I mean when I say I don’t take bread for granted like I used to. Because of my combination of gluten, dairy, and egg intolerances many of the premade gluten free breads are not options for me. And to be honest the premade gluten free breads that I have had are really not that great. They crumble to pieces when you try to eat them and tend to be very gritty in texture.


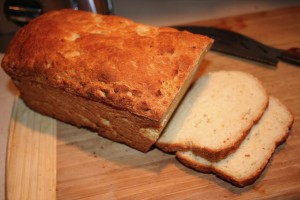
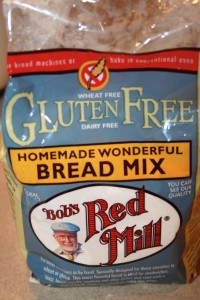
So, today I’m sharing my secret on how I enjoy delicious, soft, chewy bread that doesn’t have gluten, dairy, or eggs in it. I make my typical bread I use for sandwiches or toast from Bob’s Red Mill Gluten Free Homemade Wonderful Bread Mix. And can I just say that it is indeed Wonderful!

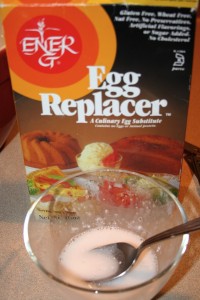
The bread mix comes with a yeast packet and the other dry ingredients for the bread (various other flours blended). You’re just required to add some sort of milk (I use rice milk), eggs (I use egg replacer), apple cider vinegar, and butter.

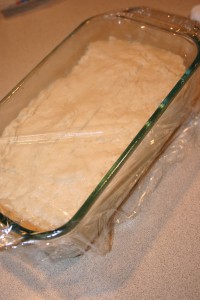
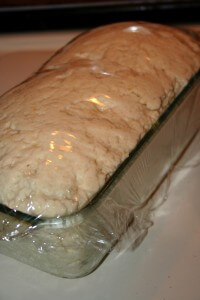
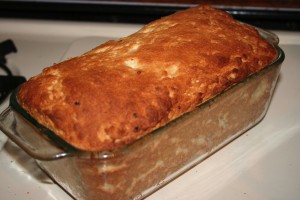
The bread can be made using a hand mixer and an oven or you can use a bread machine. I generally blend all the ingredients together using my hand mixer. Then I let the bread rise for about 45 minutes and bake it for 45 minutes to an hour.

I know it does take a good amount of time to make it, but the ability to enjoy delicious sandwiches and toast makes it so worth it. I really love that I have been able to buy this particular bread mix at my local supermarket and also have found it at Walmart. It makes it nice not to have to make a separate trip to a specialty store during busy weeks.

The full directions to make this bread are on the package, so no need to list them here. I just wanted to open up your gluten free world to my favorite bread. Its been a sanity saver on my diet. Even though you’re gluten free you can still enjoy piece of toast at breakfast or a sandwich for lunch. So, eat up!

Sweet Cupcake Beauties

Sweet Cupcake Beauties


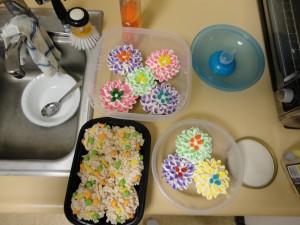
I visited my sis, Sara, over the weekend and she’s been showing me some of the adorable cupcakes she’s been making. They’re so clever I thought I just had to share them with you. She’s been baking them following this cupcake cookbook called What’s New Cupcake? by Karen Tack and Alan Richardson. It has some really cute ideas for the most adorable cupcakes for any occasion. And these are definitely Kid Friendly, as the book has some wonderful ideas for cupcakes for kids’ birthday parties.


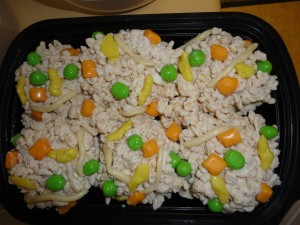
(Above Photo) Sara made these cupcakes for her boyfriend, as a special treat as they love to eat Chinese food together. These 6 cupcakes are put together in a pan to look like fried rice. The cupackes are topped with rice crispy treats and the veggies in the fried rice are mutlicolor Tootsie Rolls cut up. These would make a great gift for your Chinese-food-loving friends and would be adorable given in a Chinese food box.

(Above Photo) What a great way to welcome Spring with these colorful flower cupcakes. These beautiful flower cupcakes’ petals are made with miniature marshmallows cut in half and dipped in various color sprinkles with icing and jelly beans at the center. These little flowers would be a great Spring hostess gift, given in a basket with a layer of colorful cloth napkins underneath.

Try making these cupcakes allergen free. It will require quite a bit of replacement, but…hello…even those of us who can’t eat gluten, eggs, and dairy crave cupcakes.

Here’s how to make these tasty cupcakes allergen free:
Cupcake- I suggest just buying a mix like Hodgson Mills gluten free yellow cake mix
Eggs- Ener-G Egg Replacer
Dairy- Use whatever dairy substitute you can use (almond milk, rice milk, etc.)
Icing- Try Pamela’s Products gluten free icing mix

Thanks, sis, for the beautiful inspiration! Keep up the creative baking!

Corned Beef & Cabbage

Corned Beef & Cabbage


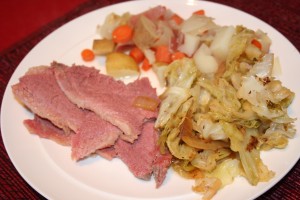
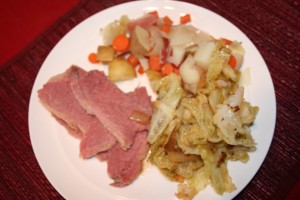
Its St. Patty’s Day and what better way to celebrate than with Corned Beef & Cabbage!
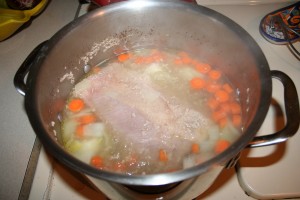
Here’s how I made my Corned Beef & Cabbage. Its really simple and the spiced aroma will flood your house with a mouth watering scent. Its not too late, so here ya go!

Corned Beef Ingredients:
1 package corned beef with spice packet
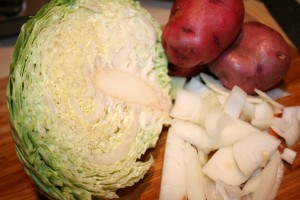
1/2 onion, roughly chopped
4 carrots, roughly chopped
3 potatoes, roughly chopped
water (enough to cover the top of corned beef)

Corned Beef Directions:
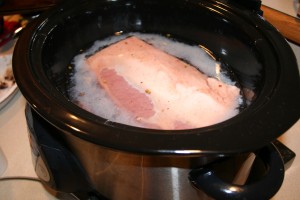
1. I made my corned beef by cooking it in my slow cooker with the spice packet and water to cover the meat for 3 hours on high.
2. I then placed it in a pot with the liquid on the stove, covered, at a simmer for half an hour.
3. Then place the potatoes, onions, and carrots in the liquid with the meat and simmer for an additional 15 t 20 minutes. Serve and enjoy.

*An alternate way to cook the corned beef is to simmer it with the liquid on the stove for 2 1/2 hours. Add the potatoes, onions, and carrots with 15 minutes remaining.

Sauteed Cabbage Ingredients:
1/2 head of cabbage, roughly chopped
1/2 onion, roughly chopped
1/2 teaspoon caraway seeds
1 tablespoon olive oil
2 tablespoons white wine vinegar
2 tablespoons butter
3/4 cup water
salt and pepper to taste

Sauteed Cabbage Directions:
1. Heat olive oil in large frying pan on medium heat. Add onions and cabbage.
2. Add butter and salt and pepper to taste.
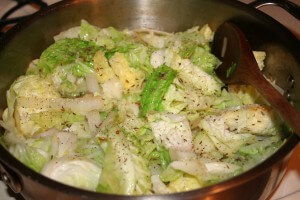
3. Sautee until cabbage begins to wilt and slightly brown. Add white wine vinegar, caraway seeds, and water.
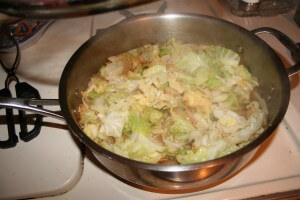
4. Continue cooking until cabbage and onions are soft and most the water is absorbed.
5. Adjust salt and pepper to taste and serve.


Happy St. Patty’s Day! Hope you enjoy Corned Beef & Cabbage today. I know Matt and I always look forward to it. And don’t forget to wear green today!

Kid Friendly: Loaded Hashbrowns

Kid Friendly: Loaded Hashbrowns

Breakfast food isn’t just for breakfast anymore; I make this recipe for dinners as well.
One of the hard parts about my restricted diet is eating breakfast/ brunch foods out at restaurants…no eggs, dairy, or wheat makes brunch at a diner almost impossible.

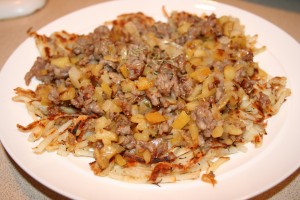
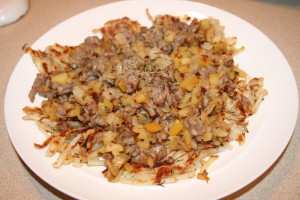
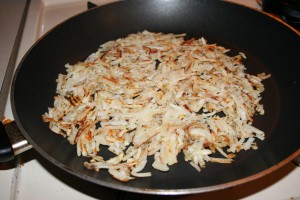
These Loaded Hashbrowns not only satisfy my craving for hearty breakfast foods, but are so simple. They make a quick tasty dinner on the go that’s really inexpensive. On a night you need a quick meal, give this one a try. And as I’ve learned, it’ll always take longer the first time you make a recipe. The second time, its always quicker.

This one’s definitely kid friendly. The apples and onions both caramelize creating a sweet flavor that blends with the saltier meats to beautifully complement the hashbrowns. Served with ketchup, what kid wouldn’t eat em’?

Ingredients:
2 tablespoons olive oil (may need to add a little more if ingredients stick to pan)
5 cups frozen shredded potatoes (about half a 26 oz. package)
1 teaspoon dried thyme
6 oz. breakfast sausage/ italian sausage/ left over ham (whatever you have)
1 medium apple, diced
1 small onion, diced
salt and pepper to taste

Directions:
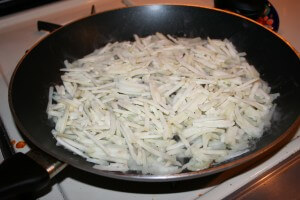
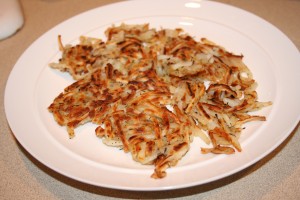
1. Heat 1 tablespoon olive oil in large frying pan over medium heat. Add frozen potatoes and sautee, stirring occasionally, for 8 minutes.
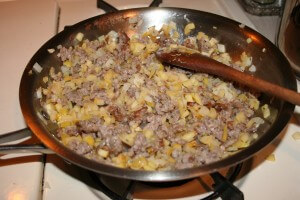
2. Meanwhile in a separate frying pan heat remaining olive oil over medium heat. Add apples, onions, and meat. Sautee until sausage is cooked and onion is transparent. Then add 1/2 teaspoon thyme and salt and pepper to taste.
3. Add 1/2 teaspoon thyme and salt and pepper to taste. Cook until potatoes are golden brown, approximately 5 minutes.
4. Serve hashbrowns with apple, onion, sausage mixture on top and ketchup on the side. Enjoy!

If you’re really hungry this dish will serve 2 people. If you like a smaller portion it’ll serve 4 people.

This Loaded Hashbrowns recipe is based off of Better Homes & Gardens Anyone Can Cook, Shredded Potatoes with Sausage and Apple Recipe.

These Loaded Hashbrowns are great for breakfast, lunch or dinner. Hope you enjoy!

Lettuce Wrap Salad

Lettuce Wrap Salad

I love reinventing recipes to fit the ingredients I have on hand and the current needs for the particular meal…Let me explain!

This weekend I really wanted to make the Turkey Lettuce Wraps (I posted back in January), but I ran into some road blocks:
-The lettuce leaves I had were just not very big to hold the ingredients.
-I also didn’t have quite enough ground turkey.
-I wanted to use some rice noodles and fresh mushrooms I had on hand.

The Solution:
-Make the turkey for the lettuce wraps and the sauce as directed, I just made a smaller amount.
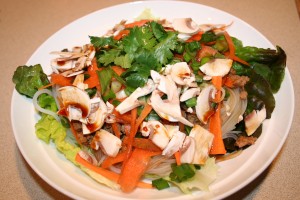
-Make it as a Lettuce Wrap Salad rather than actual lettuce wraps.
-I laid the bed of lettuce leaves down first, then added the layer of rice noodles, then the ground turkey, followed by the veggies (shredded carrot, diced green onions and mushrooms), and topped with a little of the sauce from the turkey.

The Result:
-It was awesomely delicious!
-It was less messy than regular lettuce wraps (no messy fingers)!
-This would make a great meal for left overs from the lettuce wraps when you may not have enough of each item to make the actual wraps.
-Its a great solution for those who need an easy lunch to take to work (and no messy fingers)!

Remember to make lemonade out of lemons! My encouragement is to take a recipe and adjust it to fit your needs…
Here’s to tasty food for every meal!

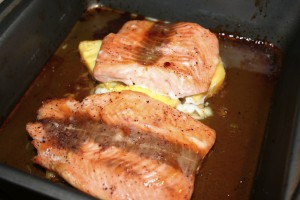
Sweet & Spicy Salmon with Pineapple

Sweet & Spicy Salmon with Pineapple

So, the weekend is finally here!
And you’re thinking about heading out to a restaurant to get a delicious meal because you’re not wanting to spend your whole night cooking, right?

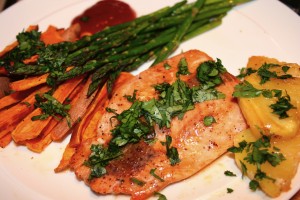
At a restaurant you could spend $25 or more per plate for this salmon dish with roasted asparagus and sweet potatoes. But, I’m here to tell you that its really not a whole lot of work and it’ll save you quite a pretty penny to make it at home.

Here’s to cooking and eating great food at home!

Ingredients:
1/4 cup pure maple syrup
1/4 teaspoon cayenne pepper
1 pound skinless salmon fillets, cut into 4 pieces
coarse salt and ground pepper
pineapple peeled, cored, and cut into pieces (up to 1/2 a whole pineapple)
1/4 cup cilantro, chopped
*I’ve found that Walmart carries frozen wild caught salmon for a great price

Directions:
1. Heat broiler (or you can use your oven at 400 degrees).
2. In small bowl stir together maple syrup and cayenne pepper.
3. Season salmon fillets with salt and pepper. Use cooking spray or oil to prepare rimmed baking dish.
4. Arrange pineapple on the bottom of pan and then place salmon fillets on top.
5. Pour half of the maple cayenne mixture over the salmon.
6. Broil salmon for 8 to 11 minutes, pouring remaining glaze over it half way through. May need to cook a little longer if using the oven rather than broiler.
7. Serve salmon with cilantro and pineapple. Enjoy!
*This recipe pairs well with oven roasted asparagus and sweet potatoes.
*Recipe source: Martha Stewart’s Everyday Food, March 2011 edition

Have a great weekend and happy cooking!

Julia Child Inspired Dinner Party

Julia Child Inspired Dinner Party

Julia Child is a chef that gave new life to French food and brought those beloved European recipes into homes across the States. Her story and recipes are now being revisited by a whole new generation with the release of the film Julie & Julia in 2009. My friends and I are included in the group of those being reintroduced to this brilliant chef and her recipes. I remember seeing her on TV cooking shows on Saturday mornings when I was a kid and am now intrigued by and enjoying her tasty recipes!
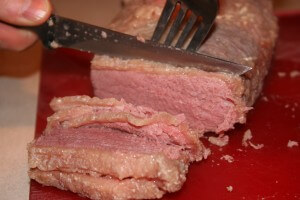
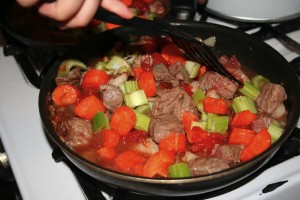
This dinner party, hosted by my friend Mary, centered around this famous Julia Child inspired recipe: Beef Bourguignon.
Here’s a link to the recipe: http://abcnews.go.com/GMA/recipe?id=8222804
Its a little more complex than some of the recipes I’ve posted in the past and I have to admit that the version we made is not exact. You could say we simplified, but it was still delicious.

(Gluten Free: we used corn starch to thicken and make sure you used GF beef stock)

We started our dinner party sitting around the coffee table on floor pillows eating appetizers, enjoying a warm fire, listening to great music, and talking and laughing a lot.

Mary’s sweet little pup Jay Jay even enjoyed the warm fire with us on the cold winter night.

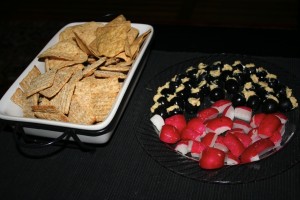
Our simple appetizers included crackers and tortilla chips, sliced radishes, and black olives stuffed with hummus (you could also use goat cheese or blue cheese). Remember the point of appetizers is just to give your guests something to munch on when they arrive. You don’t want them to fill up on them if you’re preparing a generous meal.

Our Beef Bourguignon progressed nicely and filled the house with a great aroma that definitely made us all crave the warm meal’s hearty goodness!
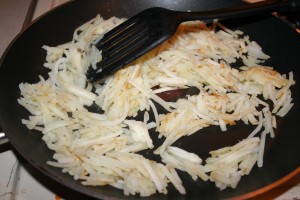
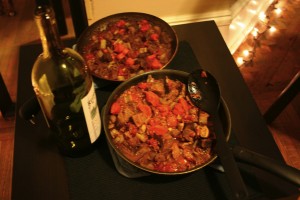
Serving the tasty dish right out of the pan not only keeps it warm and ensures you enjoy every bit of the pan juices, but also saves on dishes you have to wash (major bonus in my opinion)!
The Beef Bourguignon pairs really well with oven roasted white and sweet potatoes and red wine.

Hope this inspires you to start cooking! Remember even if you simplify complex recipes, you’re still cooking…props to all of you out there who dare to step outside of your food/ cooking box and try new things! Keeping cooking!

Kid Friendly Food: Grandma Jo’s Sloppy Joes

Kid Friendly Food: Grandma Jo’s Sloppy Joes

Every kid loves to dig into a tasty Sloppy Joe and what parent doesn’t laugh at the sight of a kid with a Sloppy Joe mustache?

Well here’s a tasty homemade Sloppy Joe recipe from my adopted Grandma Jo. Grandma Jo, at 89 years old, still loves to share her delicious homemade food with all of us who love to eat! You know every time you eat a grandma’s food its going to be good because its made with love.

Grandma Jo just shared her delicious recipes with me and I’m now learning to cook them. I have to say, as exact as I follow a recipe, it just always tastes better when its made by a grandma…so here’s to all the grandma’s out there whose tasty food made with love is enjoyed by their grandkids every day! And this one is kid approved and allergen-free friendly!

Ingredients:
2 lbs ground beef
2 small onions, chopped
1 green pepper, chopped
1 bottle ketchup, medium sized bottle (not the large, not the small, see photo below)
2 tablespoons vinegar
1 tablespoon sugar
1 tablespoon dry mustard
1 cup water
salt and pepper to taste

Directions:
1. Brown meat in frying pan. Drain grease and put meat into saucepan.
2. Brown green pepper and onion then add to beef.
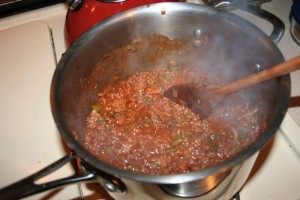
3. Then add remaining ingredients into saucepan. Stir and simmer for up to 1 1/2 hours ( I did it for a less time and it was still tasty). Serve and enjoy!

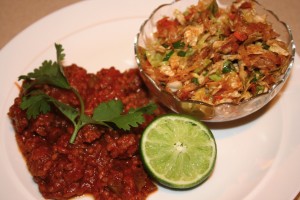
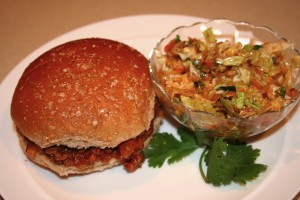
If you’re gluten free, you can still enjoy this recipe plain, eating it with a fork. Or try it on a gluten free bun (buy from Whole Foods or make it from scratch). I normally just devour it with a fork and still love it.

I served this one with a tasty homemade cole slaw, recipe to come in a later post.

Thanks to Grandma Jo for sharing her tasty recipe!