Category Archives: Recipes

These recipes all follow my personal diet: no gluten, wheat, dairy, casein, eggs, walnuts, almonds, pecans, bananas, or avocados. Even though many of these foods are in fact healthy for you for various reasons I have to avoid them, so all recipes included will follow these restrictions. The best part is that I’ve tasted them all and will only post recipes that taste great, so enjoy!

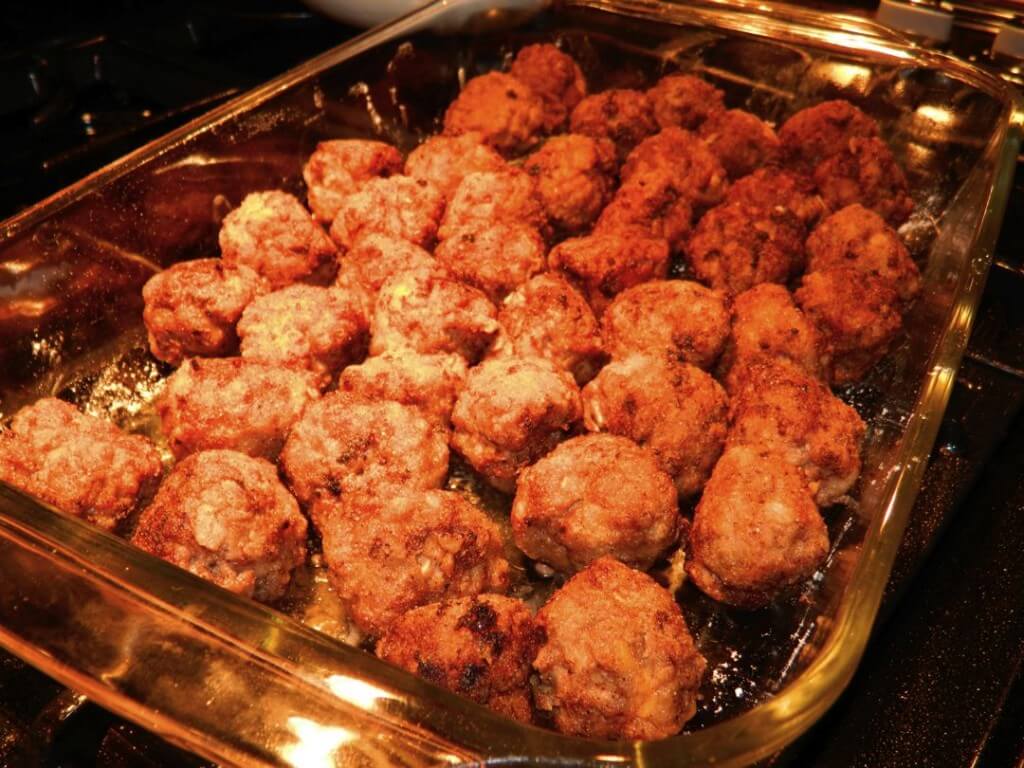
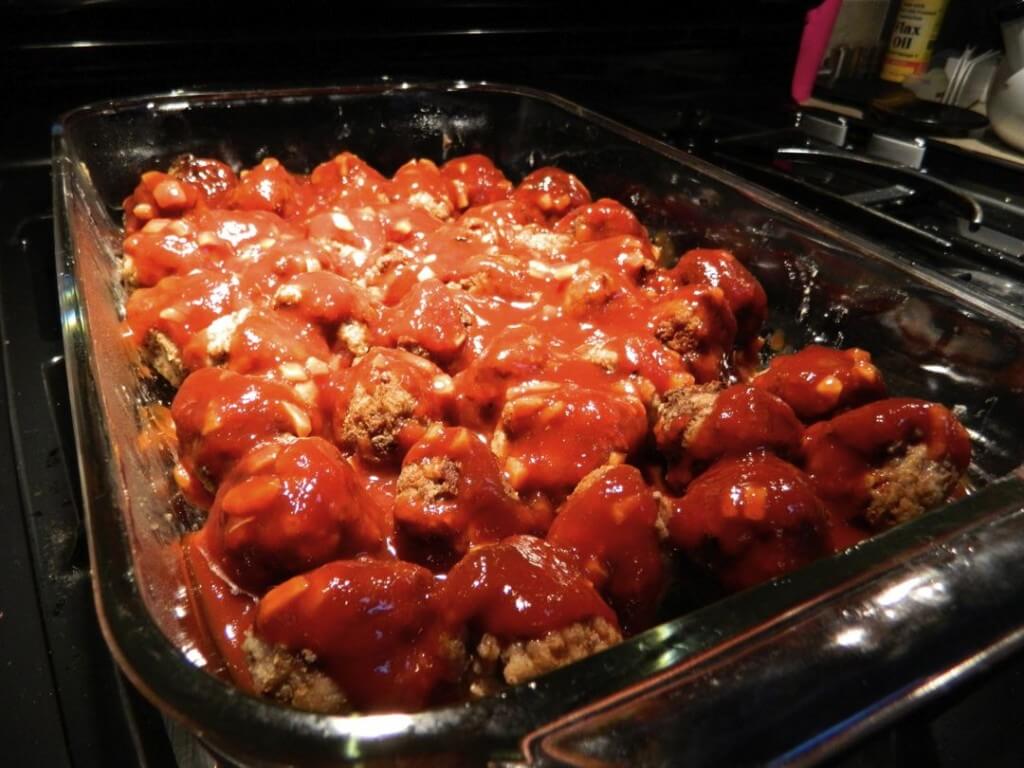
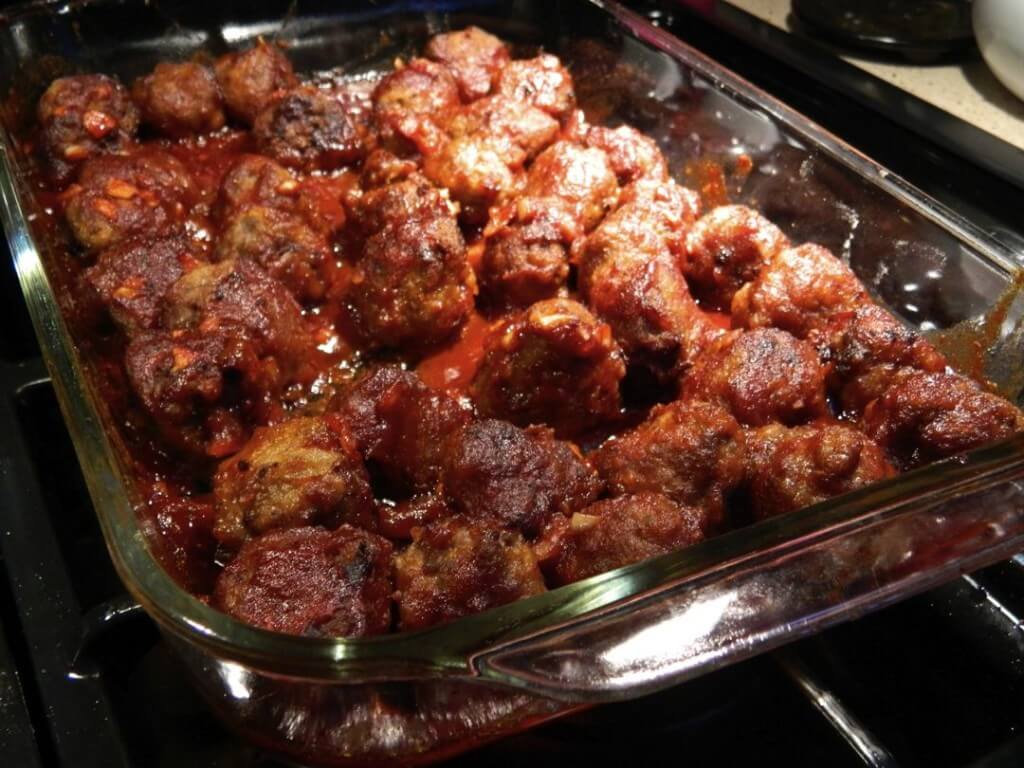
Gluten Free BBQ Meatballs

Gluten Free BBQ Meatballs

Its been a while since I’ve posted a recipe and I have to say this one is a great one to lead in with. These are Gluten Free (dairy free, egg free) BBQ Meatballs! I saw this recipe on “The Pioneer Woman.” She writes a blog and now has a show on the Food Network.

Last weekend our church was having a potluck, or “pitch-in” as I’m used to calling them, and I had no idea what I was going to bring. Then I saw Ree Drummond on her show talking about what she makes for church potlucks and this recipe for her “BBQ Comfort Meatballs” was always a hit she said. Excitedly I watched, waiting to see what these tasty little pieces of comfort were made from; waiting to see if I could turn this traditional comfort food into an allergen-free comfort food, fit enough for a church potluck. I was thrilled to see that I could, with the most minor of modifications and they were indeed a hit!

Gluten Free Meatballs 1

I love my church! At our potluck there was even a Gluten Free line with all the dishes that were Gluten Free and all of us who follow this diet were extremely grateful! Imagine, a potluck with more than 2 dishes I could eat!!!! So, for all of you who loved these meatballs and wanted the recipe, here is my modified version that I used for the potluck. Enjoy!

Gluten Free Meatballs 3

Gluten Free (dairy free, egg free) BBQ Meatballs

Meatball Ingredients:
1 1/2 lbs ground beef
3/4 cup (Gluten Free) Oats
1 cup milk (Rice Milk)
3 Tablespoons finely minced onion
1 1/2 teaspoons salt
Plenty of ground pepper to taste

Homemade BBQ Sauce:
1 cup ketchup
2 Tablespoons sugar
3 Tablespoons vinegar
2 Tablespoons (Gluten Free) Worcestershire Sauce
4 to 6 Tablespoons onion, finley minced
Dash tabasco sauce

For Frying Metaballs:
1 cup (Gluten Free) flour
Canola oil

Gluten Free Meatballs 4

Directions:
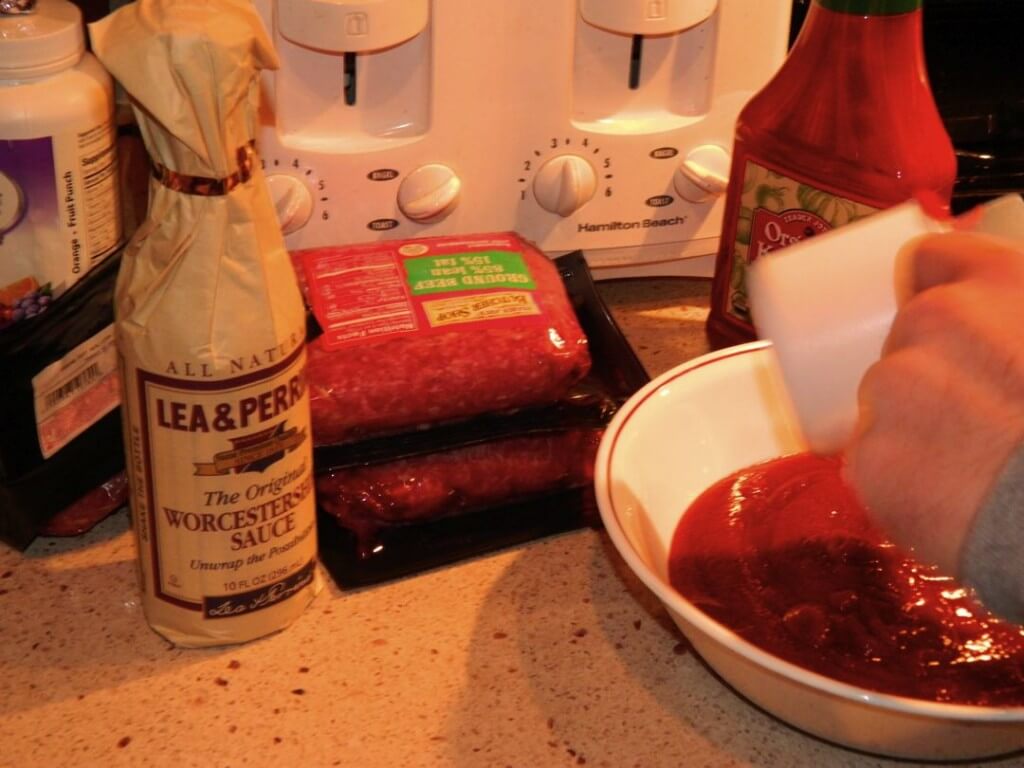
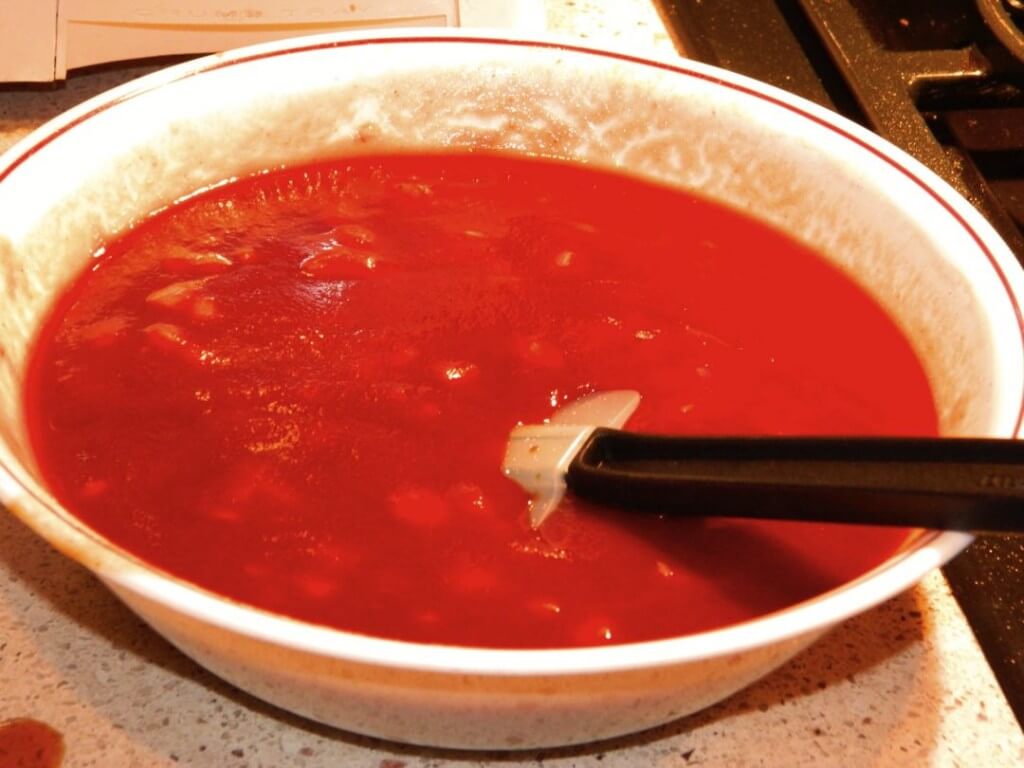
1) First, stir together all the BBQ sauce ingredients and set aside.

2) Preheat oven to 350 degrees.

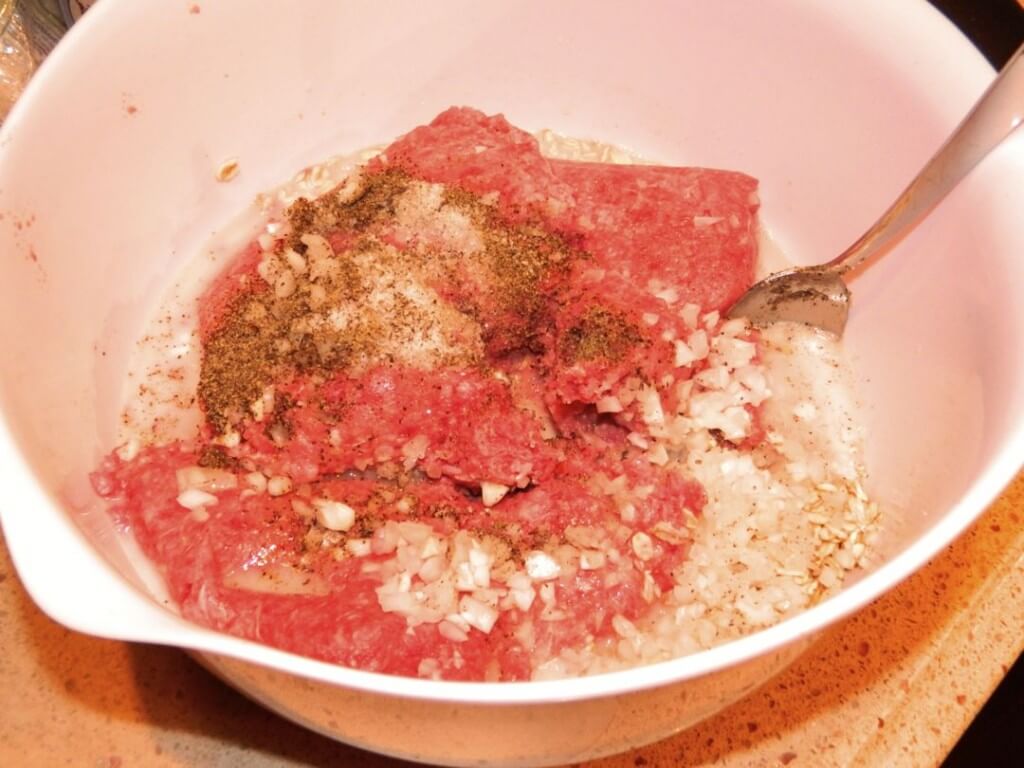
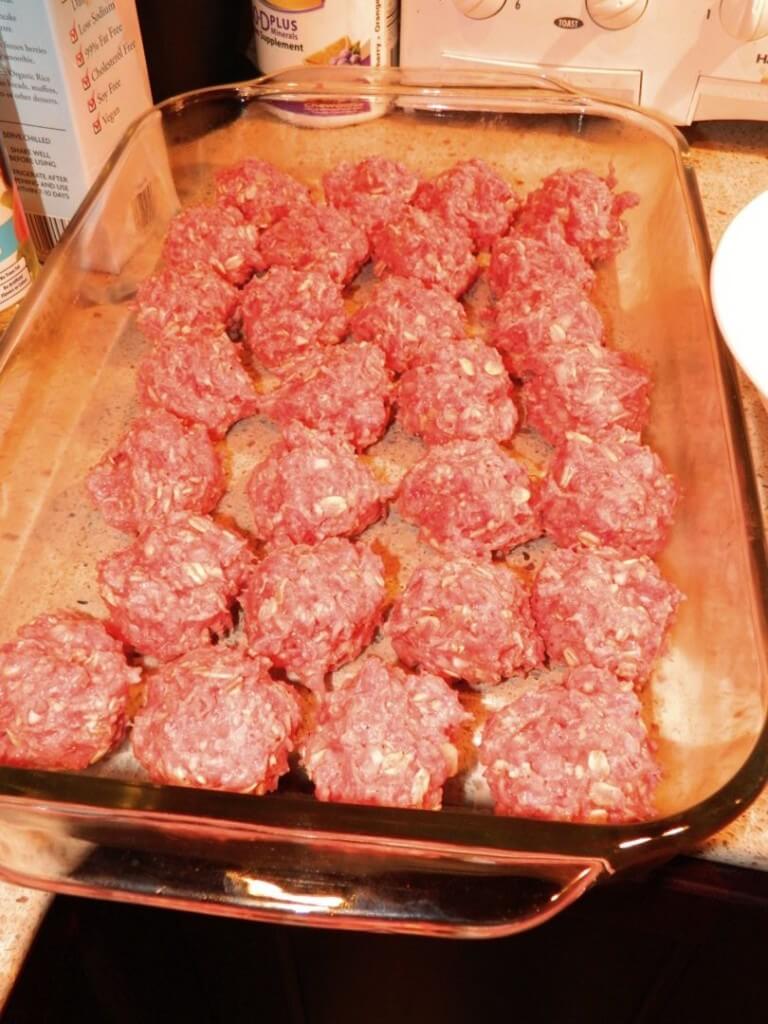
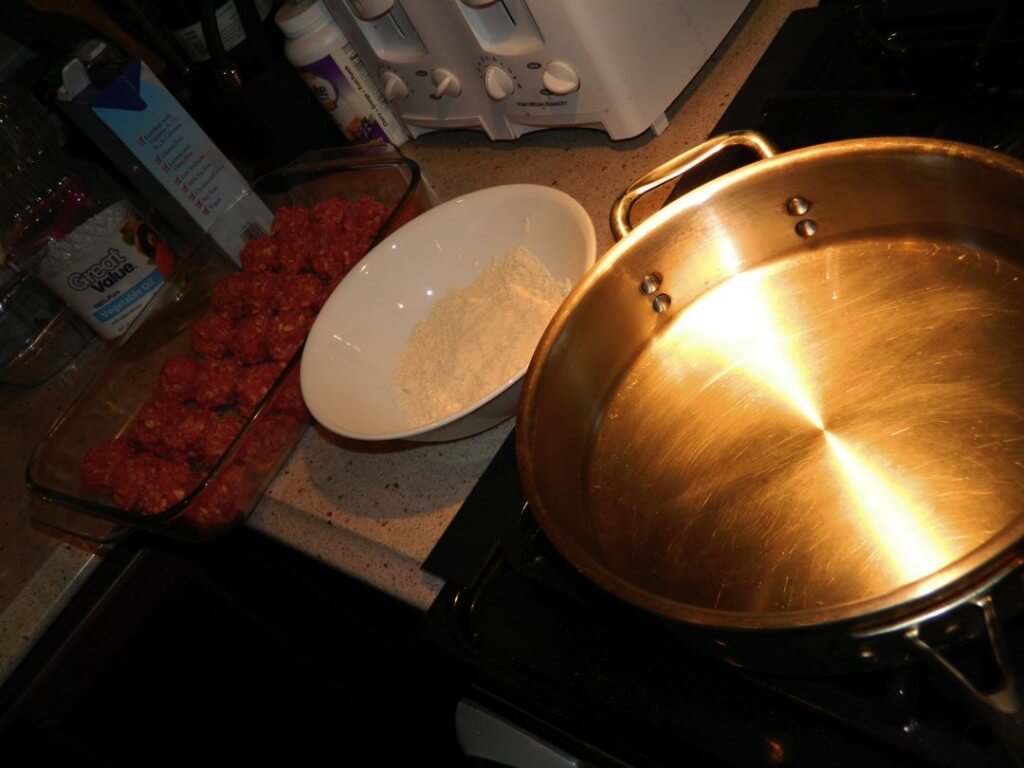
3) Combine all Meatball ingredients and roll into balls and place on a baking sheet. I found it was helpful to wet my hands with cold water before rolling each one. Place pan in freezer for 5 minutes.

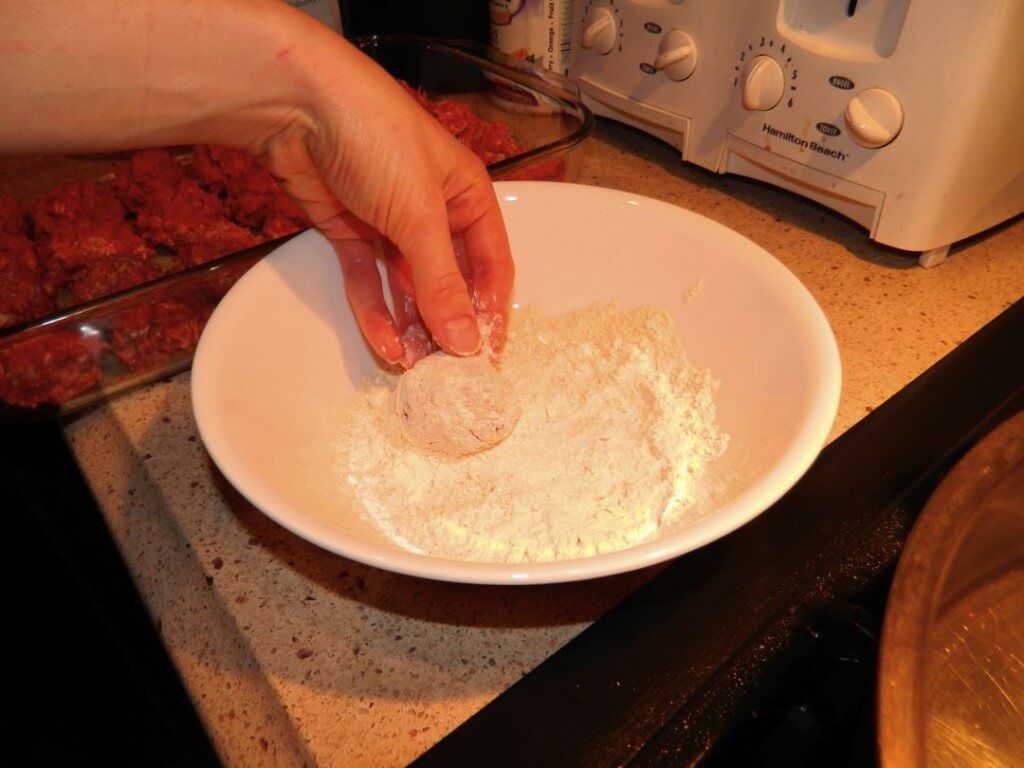
4) Immediately remove the meatballs and dredge each one in flour.

Gluten Free Meatballs 5

Gluten Free Meatballs 6

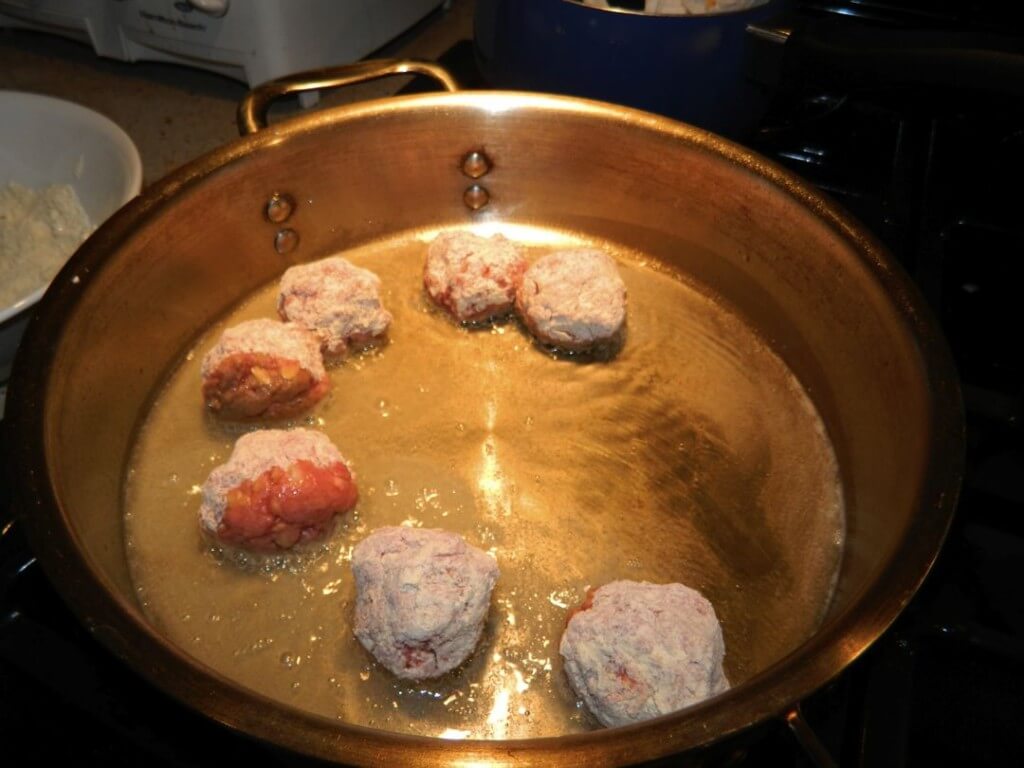
5) Next, in about 3 tablespoons of oil in a frying pain, place the meatballs in the pan to fry (carful not to over crowd the pan). Just enough to brown all sides.

Gluten Free Meatballs 8

Gluten Free Meatballs 11

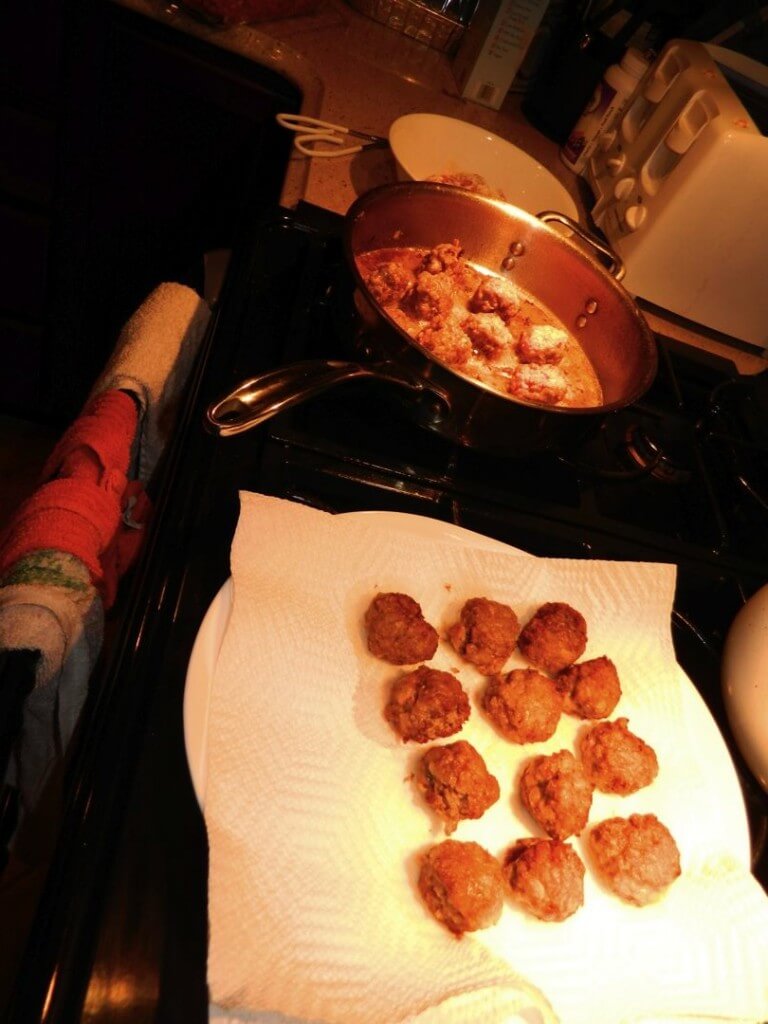
6) Place browned meatballs in baking dish and cover with BBQ sauce.

Gluten Free Meatballs 13

7) Bake at 350 for 45 minutes and enjoy!

Gluten Free Meatballs 14

I made a double batch and froze half the meatballs after they were fried (not quite cooked all the way). I thawed them in the fridge today and cooked them the rest of the way in the oven with the sauce.

Source:
http://thepioneerwoman.com/cooking/2009/03/bbq-meatballs-comfort-food-to-the-max/
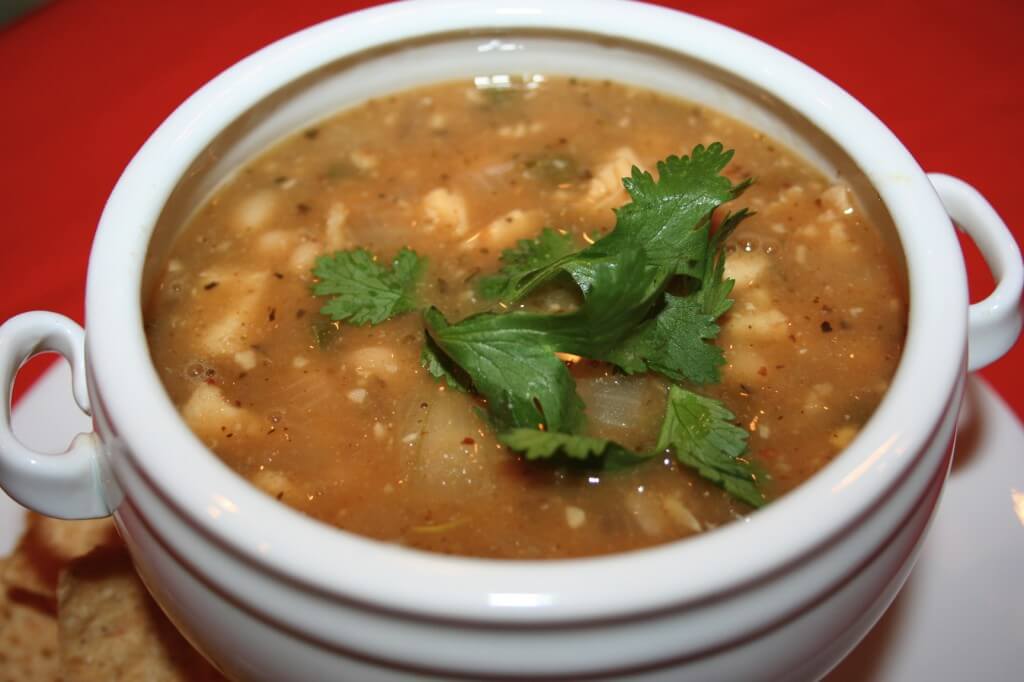
Green & White Chicken Chili

Green & White Chicken Chili

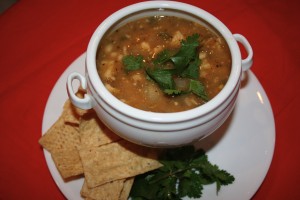
Spring is definitely on its way, but one day its 25 degrees and the next its 55 and you know what that means: Spring colds! Boooo…Second day at home sick in bed and already going stir crazy. So, I thought I’d blog today about a wonderful meal. You can enjoy it whether you’re well or feeling under the weather…whether the weather’s chili or warm this Green & White Chicken Chili will warm you up from the inside out with a lot of warmth and a little spice.

I know I’ve previously posted another white chicken chili recipe, but I have to say and friends agree this is the best one we’ve ever had. Try it and let me know how you like it!

Stay well this Sprig and enjoy!

Ingredients:
A little olive oil
1 onion, chopped
3 cloves garlic, crushed (I just used minced garlic)
1/2 jalapeno, seeded and diced
1 can chopped green chiles (you can use a 4 oz. or 7 oz. can, depending how much kick you want it to have)
2 teaspoons ground cumin
1 teaspoon oregano
salt and pepper
a little italian seasoning
1/4 teaspoon cayenne (I start here and then taste and add according to how spicy I like it)
2 cans (14.5 oz. each) chicken broth (I use the Gluten Free boxed kind)
2 to 3 chicken breasts (enough to equal 3 cups chopped cooked chicken)
3 cans white beans, drained and rinsed

Directions:
1. Cube chicken breasts and heat a little olive oil in the bottom of a stock pot. Add cubed chicken breast to olive oil over medium high heat seasoning with a little extra minced garlic, salt, pepper and italian seasoning until cooked through. Set aside and reserving stock pot.

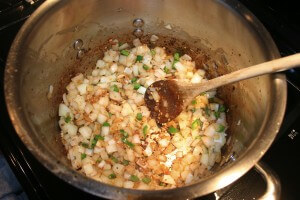
2. In the same stock pot heat onions in a little more olive oil. Mix in the garlic, jalapeno, green chiles, cumin, oregano and cayenne scraping the bottom of the pan and cook about 3 minutes.

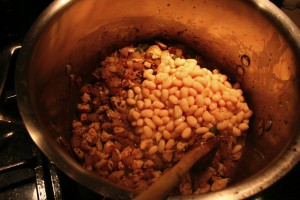
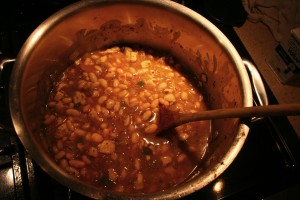
3. Mix in the chicken broth, chicken and beans. Bring to a boil and then reduce to a simmer for about 20 to 30 minutes.

4. Adjust chili to taste with salt, pepper, cayenne and extra broth if you like a thinner chili. Serve with cilantro to garnish and enjoy!

*Recipe Serves: 4

*Recipe source: http://allrecipes.com/recipe/cha-chas-white-chicken-chili/detail.aspx

Appetizing Appetizers Part 3: Super Spread

Appetizing Appetizers Part 3: Super Spread

Got to say over the last couple weeks there were many occasions where I sat at my computer to blog and got completely distracted by what Matt now calls my version of video games, Pinterest! Ladies you know what I’m talking about guys and video games…when your guy picks up that video game controller its like he gets totally wrapped into the video game world. Well, Pinterest has totally wrapped me in. So, forcing myself today to blog first and then Pinterest. Glad I got that confession off my chest now. (And by the way if you haven’t heard of Pinterest you’re completely missing out, so Google it and check it out).

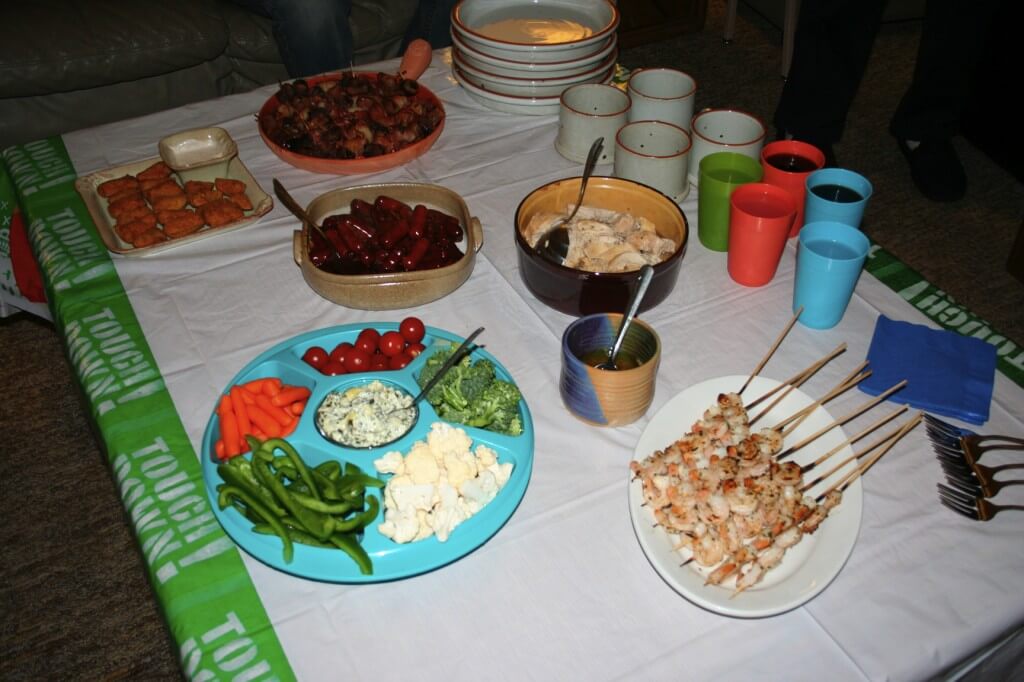
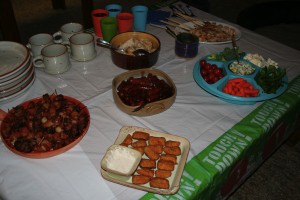
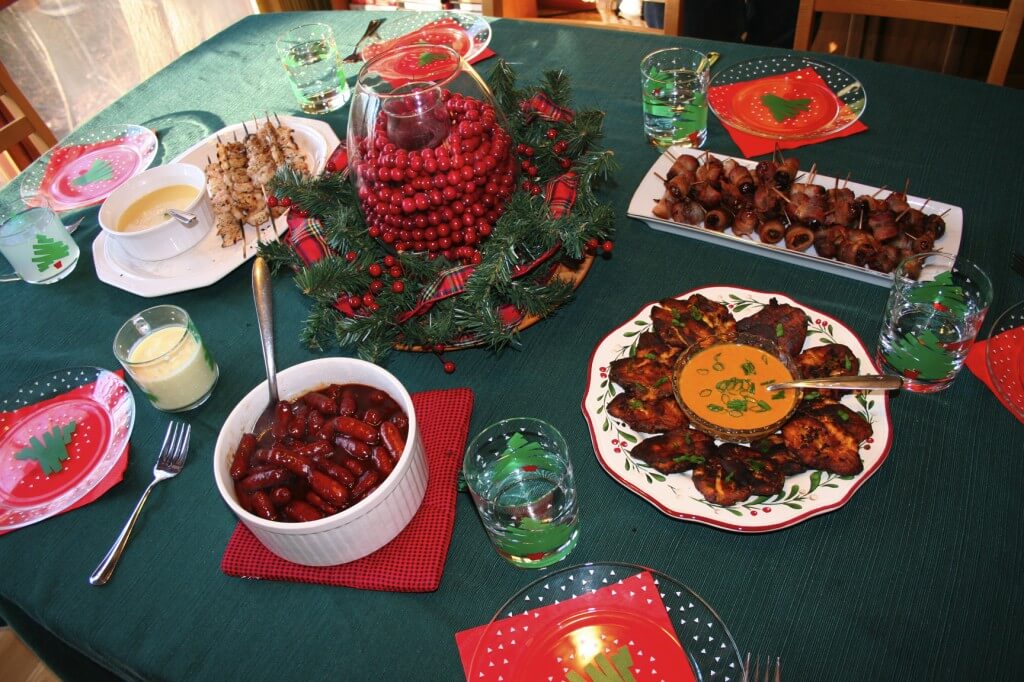
Anyway, my Superbowl party a few weeks ago was a blast! Just me, Matt and the fam, but we really had quite a Super Spread. Check out the photo above. We made our Superbowl Appetizers our dinner. We served everything on a giant, low coffee table in front of the TV. No fru fru cut glass serving ware, as my mom called it. This spread definitely had a masculine touch as seen by the heavy serving ware and the mass amounts of meat. Just thought I’d share the spread with you:

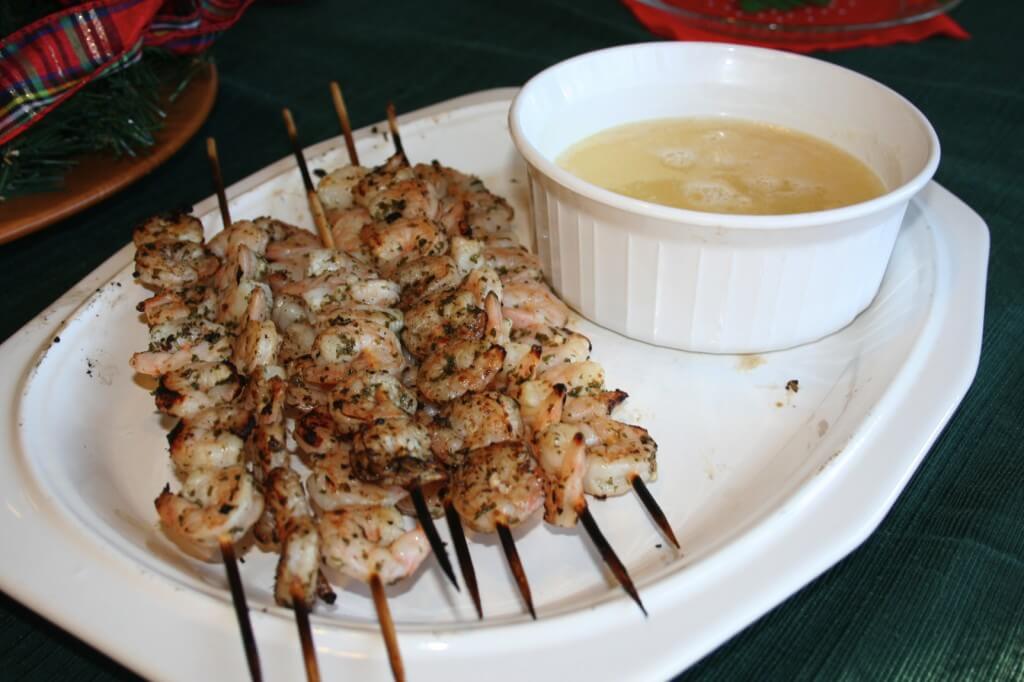
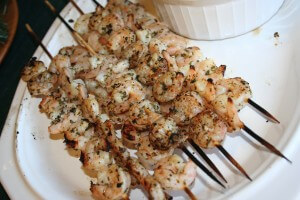
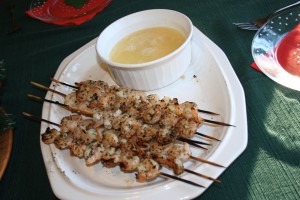
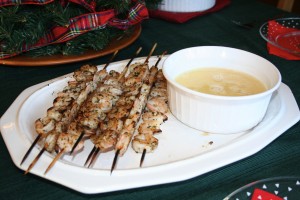
First are the Buttery, Garlic Grilled Shrimp Skewers (recipe shared in last post). Count it type of meat #1.

Next was the miniature hotdogs in BBQ sauce (required by and made by Matt) and the slowcooker chicken breast in Italian Dressing made by my dad (Papa G). Count it types of meat #2 and #3.

Wrapping up the last meat dish: there were the Bacon Wrapped Dates (recipe featured 2 posts ago), but this time I made half Bacon Wrapped Dates and half Bacon Wrapped Water Chestnuts. This made a great contrast of salt, sweet, and crunchy! Count it type of meat #4. Yep, four varieties of meat…and we all enjoyed it!

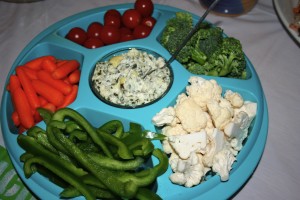
And the whole Spread was balanced out with a veggie tray and Artichoke Dip (which I can’t eat, unfortunately, but I did load up on veggies).

Last, but not least were the fried pickles…yep, fried pickles (seen on the edge of the table below). These are allergen free and have a special story so that will be for another post to come. Hope this may give you some ideas for your next party!

Appetizing Appetizers 2: Buttery Grilled Shrimp Skewers

Appetizing Appetizers 2: Buttery Grilled Shrimp Skewers

I’m generally not into football or the Super Bowl, but this year’s a little different because Super Bowl 2012 is in my hometown, Indianapolis! I’m home visiting with my fam and just came back from Super Bowl Village. What a rush to see that many people packed into lil’ ole Indianapolis. I’m quite proud of my hometown for hosting in such great style. So, I guess you could say I’m into the Super Bowl and football for at least the weekend. I’m really enjoying all the hoop-la! Here’s me, my mom and sis at Super Bowl Village:

Super Bowl Village

So, I’m a little bit pumped and am even having a little party tomorrow with Matt and my fam. We’re cooking up some Appetizing Appetizers and I thought I’d share one that we find quite succulent. I’m not normally a huge shrimp fan, but this one’s done well and I really enjoy it. Its garlicy, buttery and grilled…yep, even in the chilly weather we grill. This one is super easy (recipe looks longer than it actually is) and tastes like you really worked at it. Hope you enjoy!

Shrimp Skewers Ingredients:
1/4 cup olive oil
1/4 cup lemon juice
3 tablespoons chopped fresh parsley, I use dried
1 tablespoon minced garlic
Ground black pepper to taste
1 1/2 pounds fresh medium shrimp, peeled and deveined
Red pepper flakes (optional)

Shrimp Skewers Directions:
1. In a large, non reactive bowl stir together the olive oil, lemon juice, parsley, garlic and black pepper. Add the crushed red pepper flakes if you want a little kick.
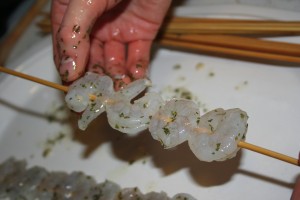
2. Add shrimp to the mixture and toss to coat. Let the mixture marinate in the fridge for 30 minutes.
3. Preheat grill to high heat. Skewer shrimps on wood skewers that have been soaked in water for at least half an hour. (Skewer the shrimp, threading the skewer once through the tail end and once through the head end). Discard remaining mixture.
4. Lightly grease the grill. Grill the shrimp skewers 2 to 3 minutes per side or until they turn opaque.

Buttery Garlic Dipping Sauce Ingredients:
2 tablespoons lemon juice
2 tablespoons water
1 tablespoon garlic, finely minced
8 tablespoons cold butter
2 tablespoons minced chives

Buttery Garlic Dipping Sauce Directions:
1. In a small sauce pan add garlic, lemon juice and water. Bring liquid to a boil.
2. Add butter (cut into several pieces) into boiling liquid.
3. Add chives and serve alongside Grilled Shrimp Skewers. Enjoy!


*Recipe Serves: 4 to 6 people
*Recipe Source: http://allrecipes.com/recipe/grilled-shrimp-scampi/detail.aspx

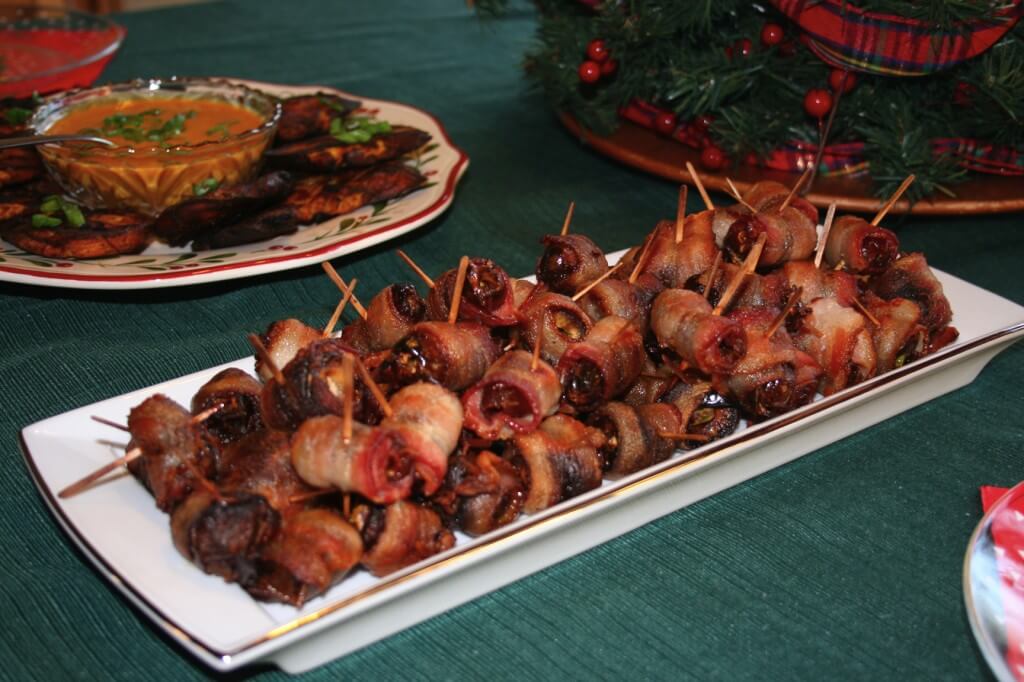
Appetizing Appetizers 1: Bacon Wrapped Dates

Appetizing Appetizers 1: Bacon Wrapped Dates

Even though the holidays are over, there are opportunities coming up for parties and get-togethers to be had. Let’s see there’s the Super Bowl coming up in just over a week (shout out as its in my home town, Indianapolis, this year and I’m headed back home for the festivities!). Valentine’s Day, yep just around the corner. Then there’s the Oscars (just an excuse to hang out and see pretty dresses).

I have to say, in my experience going to parties is not much fun if you can’t eat the food along with everyone else. And let’s face it, even those of us with restricted diets get tired of fruit and veggie trays. That’s why I’ve decided to come up with some “Appetizing Appetizers” that you can bring along to your party…allergen friendly and they’re tasty for everyone to enjoy. They’re not perfectly healthy items, but every now and then you need to just indulge in what you can.

The next few posts will be a few “Appetizing Appetizers” that I had over Christmas (seen above) and that I really enjoyed!

This first one is Bacon Wrapped Dates. A little salty and a little sweet with a crunch on the inside. These are always a hit and disappear completely whenever I make them. Who doesn’t love bacon? These are the easiest things to make and will be the star appetizer with your crowd!

Ingredients:
1 package of bacon (I like applewood smoked bacon)
Pistachios, shelled
Dates, pitted (I like the Medjool dates, but sometimes they’re too large so you have to cut them in half)
Powdered sugar for garnish
Tooth picks

Directions:
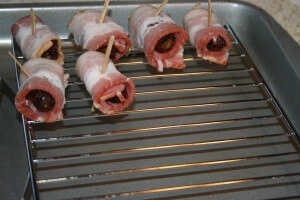
1. Preheat the oven to 400 degrees. Line rimmed baking sheet with foil and place cooking rack on top.
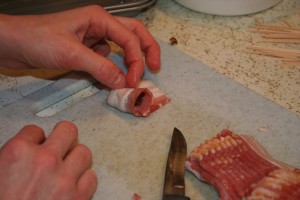
2. Cut bacon into thirds.
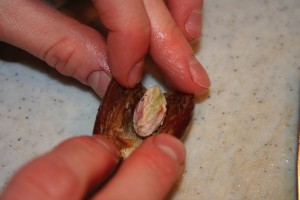
3. Stuff a pistachio nut inside all the dates.


4. Roll a piece of bacon around all the dates.
5. Poke a tooth pick through each of the bacon and date rolls.
6. Place each roll on the baking rack in the baking sheet and bake for 20 to 25 minutes. Serve garnished with a dusting of powdered sugar while hot and enjoy!

*Recipes Serves: 4 to 6 people with plenty for everybody
*Recipe Source: Madison Sommerfield

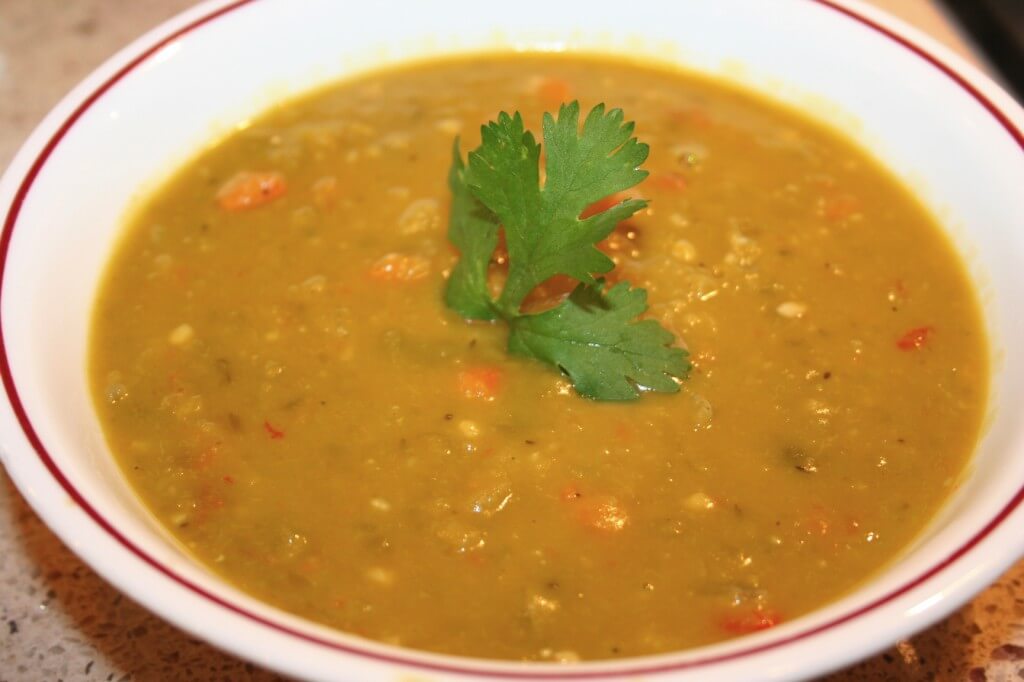
Split Pea Soup Slow Cooker Style

Split Pea Soup Slow Cooker Style

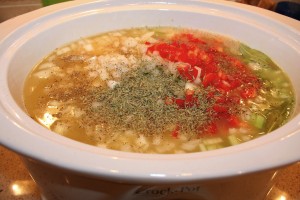
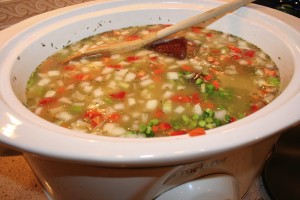
We got our first snow of the season this week! One day its 55 degrees and the next we get 8″ of snow…crazy, but I’ve been pretty excited because we’ve been waiting to try out cross country skis we borrowed from my parents. So, my first time cross country skiing was a short run…fell about just about…oh, 7 times, but it was great! Tryin’ it again tomorrow. Whether coming in from the cold weather skiing or just coming home from a long day of work…There’s nothing better than coming home on a cold winter’s day to a ready to eat hot meal and I’ve got a new one for you.

I have to admit I’ve never even tried split pea soup and its never sounded appetizing to me, but per Matt’s request I decided to give it a try. And I was so pleasantly surprised! This is a slow cooker recipe so it takes some work up front, but then you just let it go. I love slow cooker meals for busier evenings and this one is really tasty, so give it a try and enjoy!

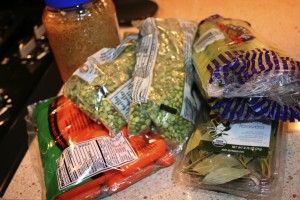
Ingredients:
10 cups low sodium chicken broth
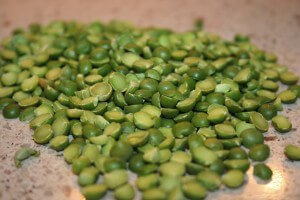
2 pounds dried green split peas, rinsed, drained and picked over
1 medium onion, diced small
4 carrots, diced small
1 stalk celery, diced small
1/2 red pepper, diced small
4 cloves minced garlic
1 teaspoon minced thyme
2 dried bay leaves
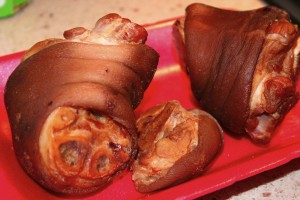
2 small ham hocks (I used smoked hamhocks, which added a great smokey flavor)
Coarse salt and ground pepper


(Above) Yep these strange looking things are smoked ham hocks. They look a little strange, but add a great flavor!

Directions:
1. In a medium pot bring broth to boil, then carefully pour it into a 5 to 6 quart crock pot.
2. Add split peas, onions, carrots, bell pepper, celery, thyme, garlic, bay leaves, and ham hocks; season with salt and pepper.


3. Cover and cook on high until split peas are creamy, about 6 hours, stirring occasionally.


4. Remove ham hocks from pot. Discard skin and bones; dice meat and reserve. Discard bay leaves.
5. Lightly mash peas in pot with the back of a wooden spoon. Return ham to soup and salt and pepper to taste. Serve and enjoy!

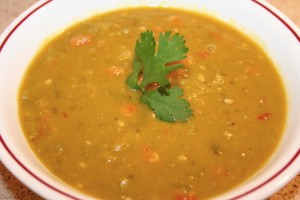
*I garnished mine with fresh cilantro.
* Recipe Serves: 8 to 10 people (I made the whole batch and froze the leftovers in individual serving sizes that made great lunches).
* Recipe Source: Emeril Lagasse for http://www.marthastewart.com/859052/emerils-slow-cooker-split-pea-soup


Classic Christmas Sugar Cookies – Gluten Free!

Classic Christmas Sugar Cookies – Gluten Free!

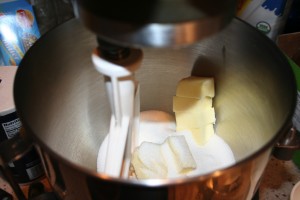
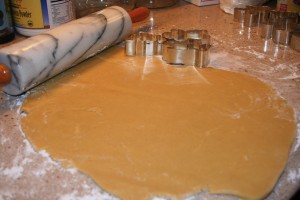
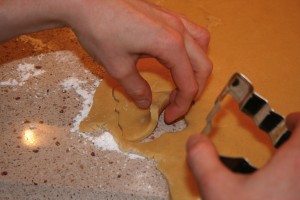
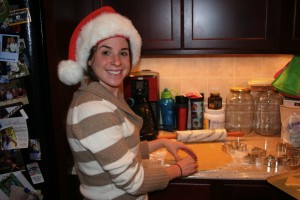
So happy to be home with my family for Christmas! And I have to say that Matt and I have been enjoying the Christmas season and festivities to the fullest this year. We took on the challenge of making traditional Classic Christmas Sugar Cookies. Of coarse the usual challenges that we took on are as follows: they cannot include gluten (regular flour), eggs, or dairy (with the exception of butter).

For all of these recipes that you see on Madindy there are many that we try that just don’t quite turn out. The ones that make it here pass the test. And I’m happy to say that these classics passed the test with flying colors! They’re moist, not too crumbly, perfectly crisp on the outside, and taste comparable to your typical sugar cookie.

I hope these little treats will help you to be able to enjoy your Christmas even more this weekend. I hope you’ll have fun baking away with friends and family like we did. Enlist lots of help and make it a fun event…as you can see we go all out and had a blast!

Ingredients:
3 cups all purpose gluten free flour
3/4 teaspoon xanthum gum
1/4 teaspoon salt
3/4 teaspoon baking powder
1 cup unsalted butter, softened
1 cup sugar
1 egg worth of egg replacer (I use Ener-G brand)
1 tablespoon rice milk
Powder sugar for rolling dough out

Directions:
1. Sift together flour, salt, baking powder, and xanthum gum. Set aside.
2. Place sugar and butter in the bowl of an electric stand mixer and blend until light n color.


3. Add egg and milk and beat to combine.
4. Put mixer on low speed, gradually adding flour mixture and blend until mixture pulls away from the sides of the bowl.
5. Divide dough in half and wrap in wax paper. Refrigerate dough for 2 hours. (Sounds like a long time, but its crucial to the process)
6. Preheat oven to 375 degrees.

7. Sprinkle area where you’ll roll out dough with powder sugar. Sprinkle rolling pin with powder sugar.
8. Take one of the dough balls and roll out to 1/4 inch thick.


9. Use cookie cutters to cut dough into desired shapes, making sure to keep dough cool while working.


10. Place cookies on prepared (I suggest parchment paper as mine stuck a little on a greased pan) baking pan 1 inch apart.


11. Bake for 7 to 9 minutes, turning around half way through. Let cookies sit for 2 minutes after taking them out of the oven. Let cool on wire rack and then ice and decorate as desired. Ice away and enjoy!

*For icing I just combined powder sugar, vanilla extract, and rice milk until its slightly thick and tastes just right!


* Makes 3 dozen cookies
* Store in air tight container for up to 1 week
* Recipe Source: Based on Alton Brown’s recipe for Sugar Cookies http://www.foodnetwork.com/recipes/alton-brown/sugar-cookies-recipe/index.html, Adapted by Madison Sommerfield

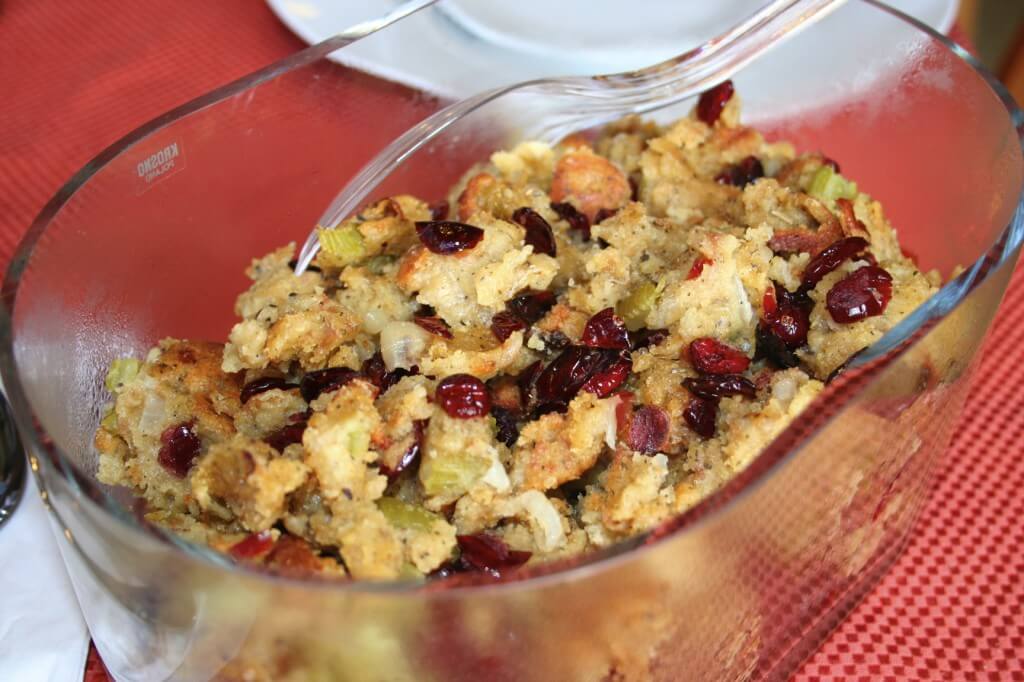
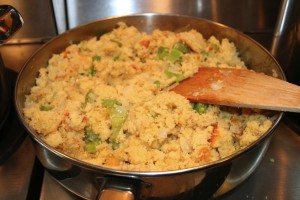
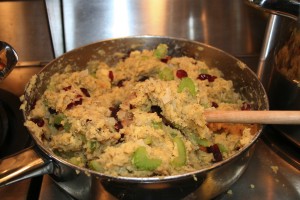
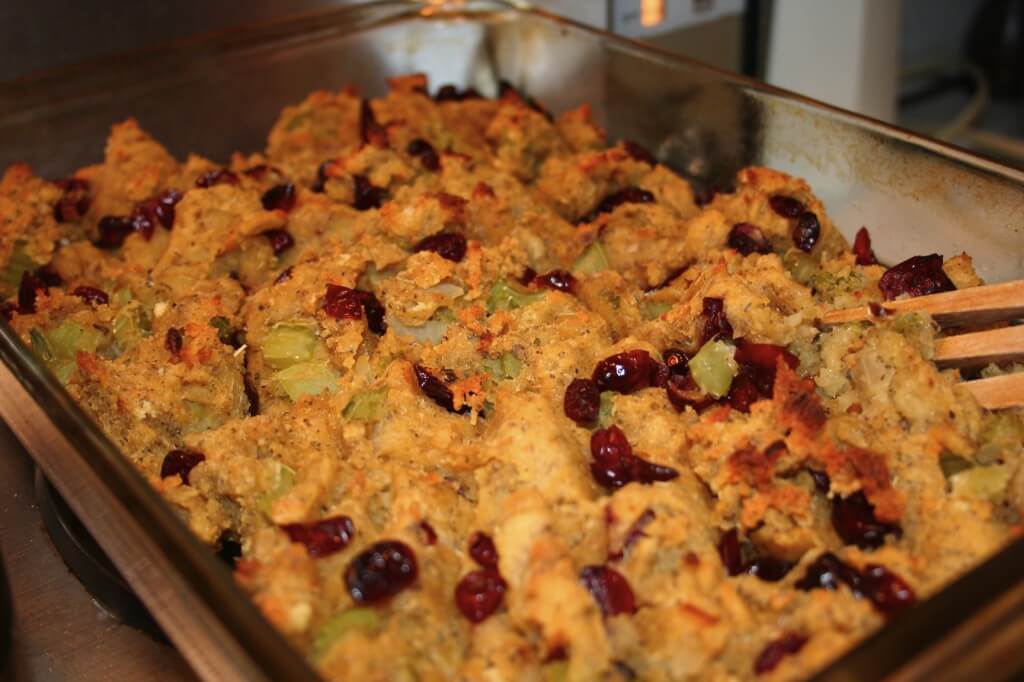
Cranberry Cornbread Dressing Gluten Free Style

Cranberry Cornbread Dressing Gluten Free Style

For the last few years I’ve just forgone certain dishes at the holidays because of my diet. Not being able to eat gluten and eggs makes the traditional American holiday dishes generally a no- go. But as the years have gone by and I’ve become more adventurous and experienced in my allergen-free cooking, I’ve figured out ways to still be able to enjoy classic dishes for the holidays.

I’ve always enjoyed dressings and stuffings with my turkey or ham at Christmas and Thanksgiving, but being gluten free and egg free this was previously a no- go. I’m happy to report NOT ANYMORE!

I’ve taken my grandparents’ traditional recipe for Cornbread Dressing, given them a twist and made them gluten free, dairy free and egg free. I made this one for Thanksgiving and it was a hit! It held its own as several people’s favorite, even compared to the normal dressing. Try it and enjoy! (This recipe is a lot of “to taste,” as was my grandparent’s original recipe, so have fun tasting!)

Ingredients:
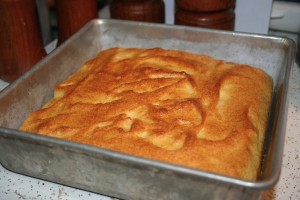
1 Recipe Gluten Free (egg free, dairy free) Cornbread (I use Bob’s Redmill Gluten Free Cornbread and use Ener-G Egg Replacer)
1 tablespoon olive oil
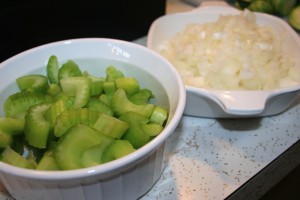
1 large size onion, diced
3 stalks celery, diced
1 tablespoon garlic, minced
Gluten Free Chicken Stock (eye ball the amount)
1/2 to 3/4 cups dried cranberries
2 eggs worth of Ener-G brand egg replacer
Sage, to taste
Salt and Pepper, to taste

Directions:
1. Preheat oven to 350 degrees. Prepare a 9 X13 oven safe pan with cooking spray.

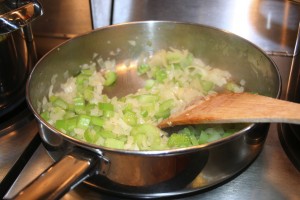
2. Saute onions, celery, and garlic in olive oil over medium heat until veggies are translucent.

3. Crumble cornbread into pan. Add egg replacer, chicken broth (enough to combine and make it moist, plus a little extra), dried cranberries, sage and salt and pepper to taste and stir gently to combine.

4. Place mixture into baking dish and bake for approximately 45 minutes or until its hardened a little and browned on top. Serve and enjoy!

*Recipes Serves: 4 to 6 people
*Recipe Source: Madison Sommerfield, based on family recipe

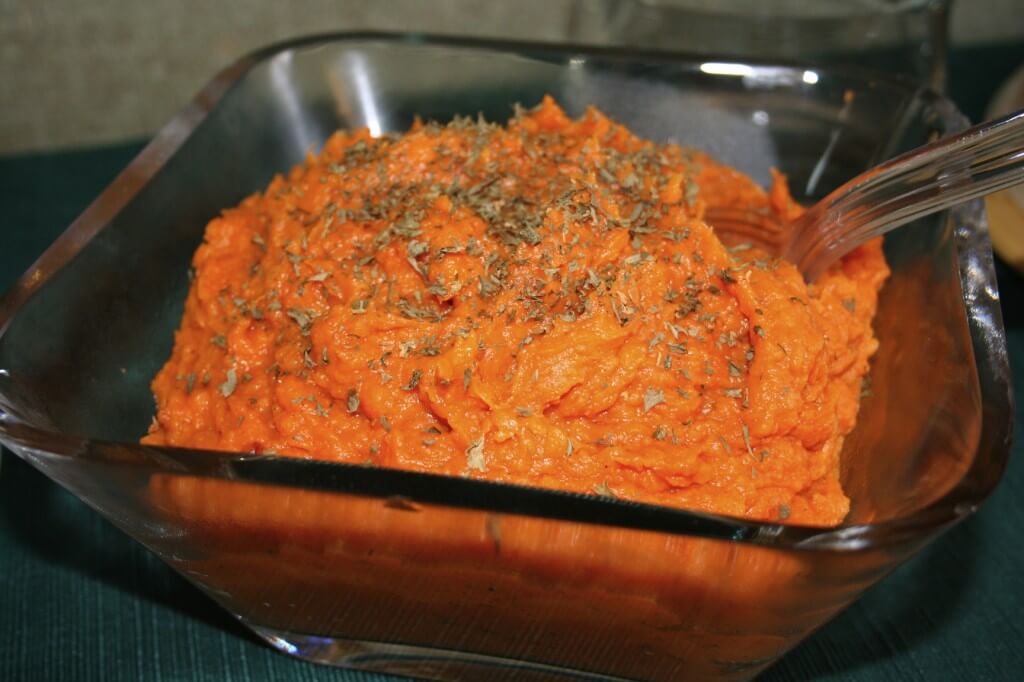
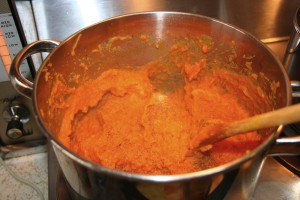
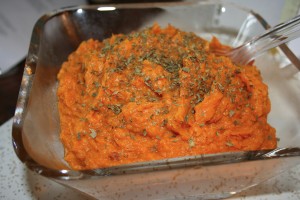
Maple-Orange Mashed Sweet Potatoes

Maple-Orange Mashed Sweet Potatoes

So, if you’re like me and you’re on a restricted diet, or if someone joining one of your holiday celebrations is, then the holidays from Thanksgiving to Christmas to New Year’s could be a daunting time. If you’re the one on a restricted diet you may not look forward to the festive parties and family gatherings as much as you used to (half the fun is the tasty food, right?). And if you’re hosting a gathering and someone attending has a restricted diet or food allergies, you may have no idea what to serve. (Trust me, even if you have a couple things they can eat, they will be grateful you made the effort).

Whatever the case, you may be struggling to come up with recipes that say, “I’m celebrating…Yeah, fun food!” while not eating the stuff that’ll make you (or someone attending you party) sick. That’s why I’m starting a run from now until the end of the year, giving you plenty of delicious recipes to make all season long. Let’s face it, restricted diet, food allergies, whatever the case…enjoy the tastes of the season!

And if you’re not on a restricted diet, trust me, you’ll love these recipes too! These have been the hits of many celebratory and everyday meals. Enjoy the season!

I’m starting the season off with a simple crowd pleaser: Maple-Orange Mashed Sweet Potatoes. For the love of all that is good, if you’re still serving canned yams at your Christmas dinner, please I beg you, keep reading and try this recipe instead (everyone will be glad you did)!

Ingredients:
4 Tablespoons unsalted butter, cut into 4 pieces
2 Tablespoons heavy cream (I substitute rice milk as a non-dairy substitute)
1/2 teaspoon kosher salt
1 teaspoon sugar
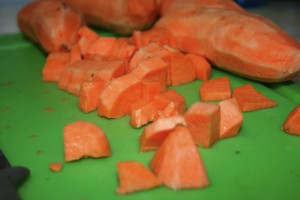
2 pounds sweet potatoes, peeled and cut into small cube shaped pieces
2 Tablespoons maple syrup
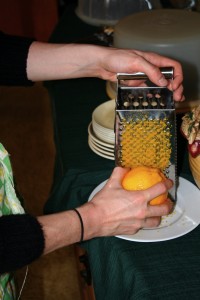
1/2 teaspoon orange zest
Pepper to taste
Dried or chopped fresh parsley for garnish

Directions:
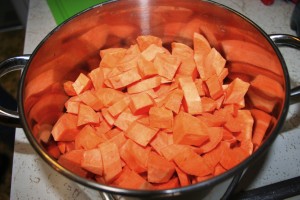
1. Combine butter, cream, salt, sugar and sweet potatoes in a large saucepan.


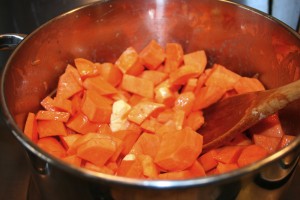
2. Cook, covered, over low heat, stirring occasionally, until potatoes fall apart when poked with a fork (anywhere from 25 to 45 minutes). This technique is called braising. I tend to cook mine over medium low heat and they cook faster, but be careful or the ones on bottom will burn.


3. Off heat, mash sweet potatoes in the saucepan. Stir in maple syrup, orange zest and pepper.


4. Serve with parsley garnish and enjoy! (Told you it was simple)

*Recipe Source: Cook’s Illustrated
* Serves: 4 people

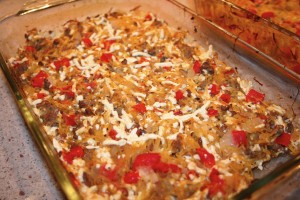
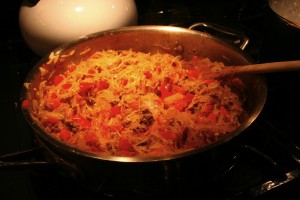
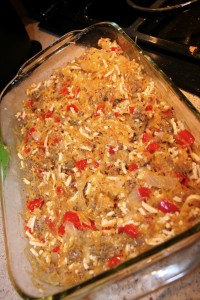
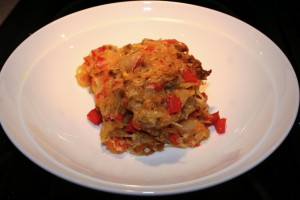
Baked Spaghetti Squash Casserole

Baked Spaghetti Squash Casserole


Fall is really setting in and squash of all sorts are filling the produce isles of supermarkets everywhere. I always love to see the crazy varieties that abound, but often wonder how to prepare them. Maybe you’ve thought the same thing. That’s why, in addition to my typical cool weather recipes, I’m cooking with squash in a variety of ways throughout the season. Hope you’ll continue to tag along for the journey.

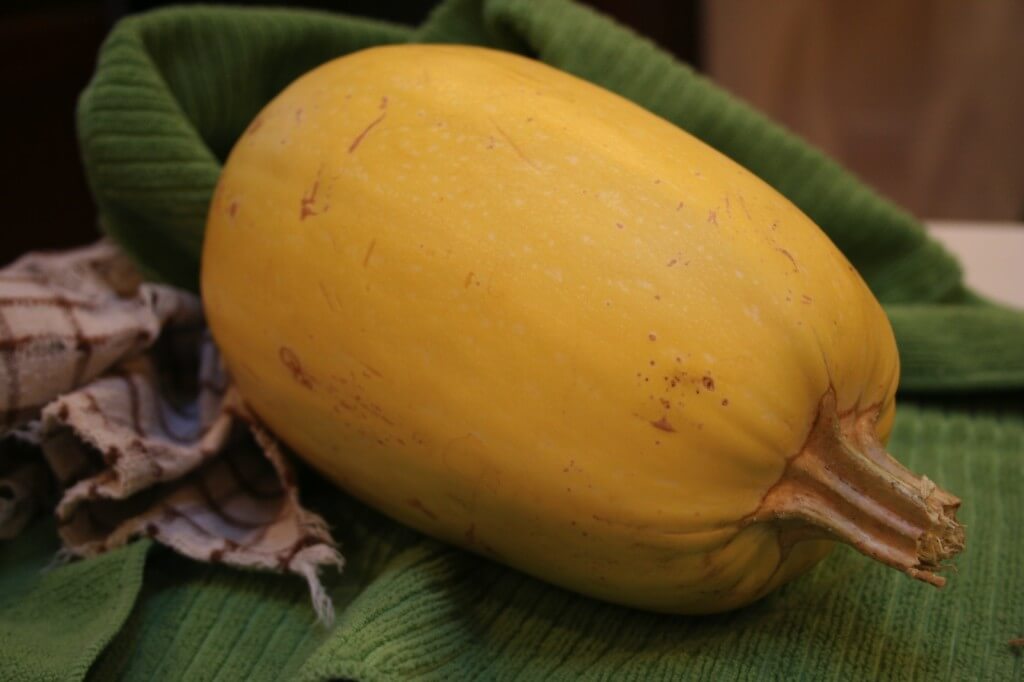
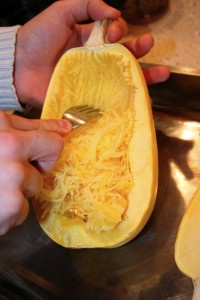
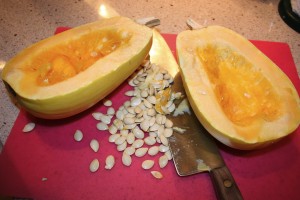
I’m starting out the squash adventure with Spaghetti Squash. When pulled apart with a fork the interior of this buttery beauty looks much like spaghetti noodles, hence the name. And the squash “noodles” can be used in place of regular spaghetti noodles in a variety of dishes. The benefits of using squash instead of pasta noodles include: lower in calories, gluten free, and the additional nutrients from the vegetable.

I’m starting out with Baked Spaghetti Squash Casserole with beef and vegetables. I was seriously impressed with this recipe. Its really tasty and even if you don’t like the taste of squash I think you’ll enjoy this one because it the dish really melds into its own flavor.

Ingredients:
1 spaghetti squash, cut in half and seeds removed
1 pound ground beef
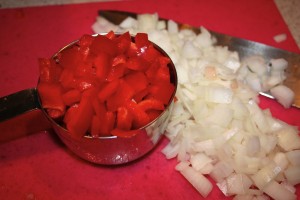
1/2 cup red pepper, diced (I used 1 cup red pepper total and no green pepper)
1/2 cup green pepper, diced
1/4 cup onion, diced (I used more like 1/2 cup)
1 clove garlic, diced
1 (14.5 oz.) can Italian-style diced tomatoes
1/2 teaspoon dried oregano
1/2 teaspoon dried basil
1/4 teaspoon salt
1/4 teaspoon pepper
2 1/4 cup shredded cheese (I used Daiya Rice Cheese substitute)


Directions:
1. Preheat oven to 375 degrees.
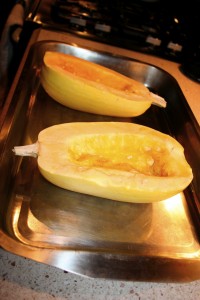
2. Place squash on baking sheet and bake for 40 minutes or until tender. Then cool and pulp with a fork.

3. Reduce oven temperature to 350 degrees.
4. In pan over medium heat cook beef is browned. Then drain and mix in peppers, onion and garlic. Continue to cook and stir until vegetables are tender.


5. Mix the shredded squash and tomatoes into the skillet and season with salt, pepper, oregano, and basil. Cook and stir until heated through. Remove from the heat and mix in 2 cups cheese until melted. Pour mixture into prepared casserole dish.


6. Bake 25 minutes in preheated oven. Sprinkle with remaining cheese and continue to bake until cheese is melted. Serve and enjoy!


* This recipe serves 2 to 4 people.
* Recipe Source: All Recipes http://allrecipes.com/recipe/baked-spaghetti-squash-with-beef-and-veggies/detail.aspx
* Additional Ideas: Add Italian Sausage instead of ground beef for even more flavor. Use whatever veggies you like to include, like leftover veggies in the fridge. (For instance try mushrooms and spinach).