Category Archives: Festive Fun

Appetizing Appetizers Part 3: Super Spread

Appetizing Appetizers Part 3: Super Spread

Got to say over the last couple weeks there were many occasions where I sat at my computer to blog and got completely distracted by what Matt now calls my version of video games, Pinterest! Ladies you know what I’m talking about guys and video games…when your guy picks up that video game controller its like he gets totally wrapped into the video game world. Well, Pinterest has totally wrapped me in. So, forcing myself today to blog first and then Pinterest. Glad I got that confession off my chest now. (And by the way if you haven’t heard of Pinterest you’re completely missing out, so Google it and check it out).

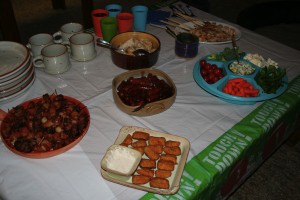
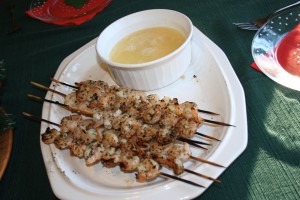
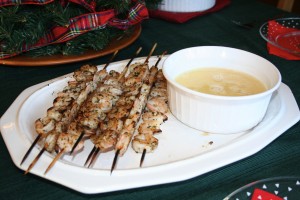
Anyway, my Superbowl party a few weeks ago was a blast! Just me, Matt and the fam, but we really had quite a Super Spread. Check out the photo above. We made our Superbowl Appetizers our dinner. We served everything on a giant, low coffee table in front of the TV. No fru fru cut glass serving ware, as my mom called it. This spread definitely had a masculine touch as seen by the heavy serving ware and the mass amounts of meat. Just thought I’d share the spread with you:

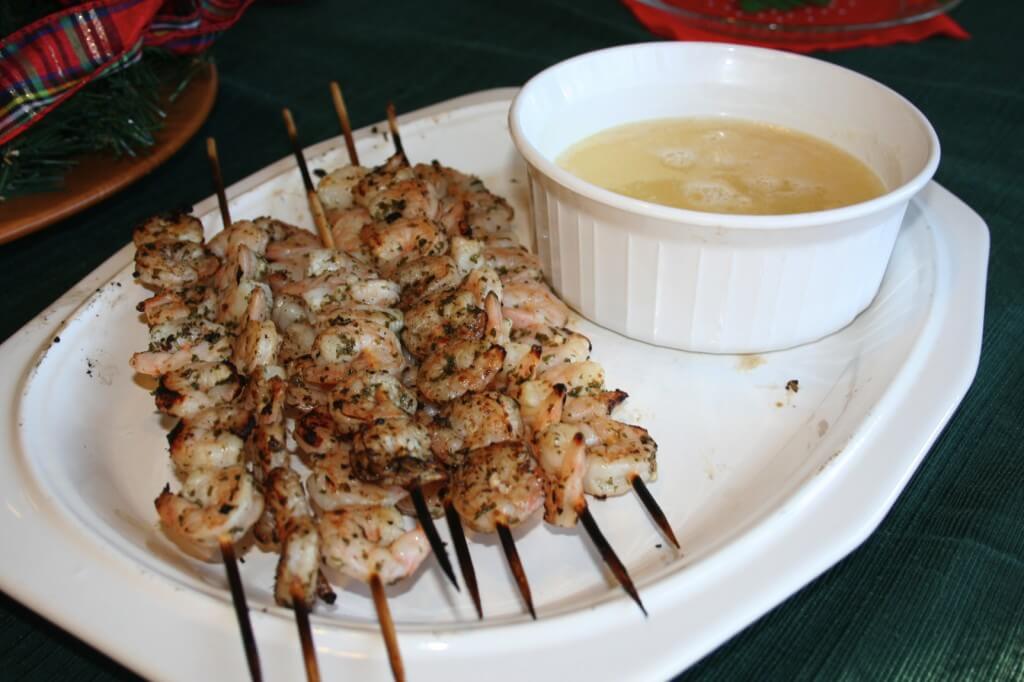
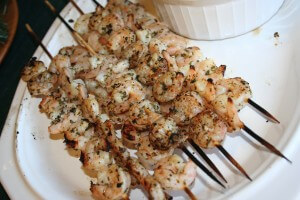
First are the Buttery, Garlic Grilled Shrimp Skewers (recipe shared in last post). Count it type of meat #1.

Next was the miniature hotdogs in BBQ sauce (required by and made by Matt) and the slowcooker chicken breast in Italian Dressing made by my dad (Papa G). Count it types of meat #2 and #3.

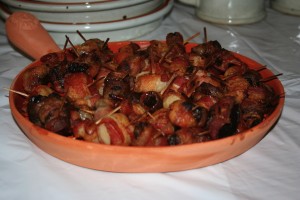
Wrapping up the last meat dish: there were the Bacon Wrapped Dates (recipe featured 2 posts ago), but this time I made half Bacon Wrapped Dates and half Bacon Wrapped Water Chestnuts. This made a great contrast of salt, sweet, and crunchy! Count it type of meat #4. Yep, four varieties of meat…and we all enjoyed it!

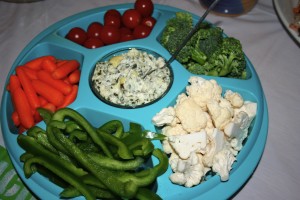
And the whole Spread was balanced out with a veggie tray and Artichoke Dip (which I can’t eat, unfortunately, but I did load up on veggies).

Last, but not least were the fried pickles…yep, fried pickles (seen on the edge of the table below). These are allergen free and have a special story so that will be for another post to come. Hope this may give you some ideas for your next party!

Appetizing Appetizers 2: Buttery Grilled Shrimp Skewers

Appetizing Appetizers 2: Buttery Grilled Shrimp Skewers

I’m generally not into football or the Super Bowl, but this year’s a little different because Super Bowl 2012 is in my hometown, Indianapolis! I’m home visiting with my fam and just came back from Super Bowl Village. What a rush to see that many people packed into lil’ ole Indianapolis. I’m quite proud of my hometown for hosting in such great style. So, I guess you could say I’m into the Super Bowl and football for at least the weekend. I’m really enjoying all the hoop-la! Here’s me, my mom and sis at Super Bowl Village:

Super Bowl Village

So, I’m a little bit pumped and am even having a little party tomorrow with Matt and my fam. We’re cooking up some Appetizing Appetizers and I thought I’d share one that we find quite succulent. I’m not normally a huge shrimp fan, but this one’s done well and I really enjoy it. Its garlicy, buttery and grilled…yep, even in the chilly weather we grill. This one is super easy (recipe looks longer than it actually is) and tastes like you really worked at it. Hope you enjoy!

Shrimp Skewers Ingredients:
1/4 cup olive oil
1/4 cup lemon juice
3 tablespoons chopped fresh parsley, I use dried
1 tablespoon minced garlic
Ground black pepper to taste
1 1/2 pounds fresh medium shrimp, peeled and deveined
Red pepper flakes (optional)

Shrimp Skewers Directions:
1. In a large, non reactive bowl stir together the olive oil, lemon juice, parsley, garlic and black pepper. Add the crushed red pepper flakes if you want a little kick.
2. Add shrimp to the mixture and toss to coat. Let the mixture marinate in the fridge for 30 minutes.
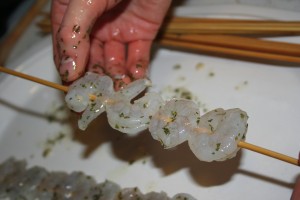
3. Preheat grill to high heat. Skewer shrimps on wood skewers that have been soaked in water for at least half an hour. (Skewer the shrimp, threading the skewer once through the tail end and once through the head end). Discard remaining mixture.
4. Lightly grease the grill. Grill the shrimp skewers 2 to 3 minutes per side or until they turn opaque.

Buttery Garlic Dipping Sauce Ingredients:
2 tablespoons lemon juice
2 tablespoons water
1 tablespoon garlic, finely minced
8 tablespoons cold butter
2 tablespoons minced chives

Buttery Garlic Dipping Sauce Directions:
1. In a small sauce pan add garlic, lemon juice and water. Bring liquid to a boil.
2. Add butter (cut into several pieces) into boiling liquid.
3. Add chives and serve alongside Grilled Shrimp Skewers. Enjoy!


*Recipe Serves: 4 to 6 people
*Recipe Source: http://allrecipes.com/recipe/grilled-shrimp-scampi/detail.aspx

Classic Christmas Sugar Cookies – Gluten Free!

Classic Christmas Sugar Cookies – Gluten Free!

So happy to be home with my family for Christmas! And I have to say that Matt and I have been enjoying the Christmas season and festivities to the fullest this year. We took on the challenge of making traditional Classic Christmas Sugar Cookies. Of coarse the usual challenges that we took on are as follows: they cannot include gluten (regular flour), eggs, or dairy (with the exception of butter).

For all of these recipes that you see on Madindy there are many that we try that just don’t quite turn out. The ones that make it here pass the test. And I’m happy to say that these classics passed the test with flying colors! They’re moist, not too crumbly, perfectly crisp on the outside, and taste comparable to your typical sugar cookie.

I hope these little treats will help you to be able to enjoy your Christmas even more this weekend. I hope you’ll have fun baking away with friends and family like we did. Enlist lots of help and make it a fun event…as you can see we go all out and had a blast!

Ingredients:
3 cups all purpose gluten free flour
3/4 teaspoon xanthum gum
1/4 teaspoon salt
3/4 teaspoon baking powder
1 cup unsalted butter, softened
1 cup sugar
1 egg worth of egg replacer (I use Ener-G brand)
1 tablespoon rice milk
Powder sugar for rolling dough out

Directions:
1. Sift together flour, salt, baking powder, and xanthum gum. Set aside.
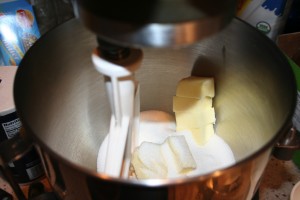
2. Place sugar and butter in the bowl of an electric stand mixer and blend until light n color.


3. Add egg and milk and beat to combine.
4. Put mixer on low speed, gradually adding flour mixture and blend until mixture pulls away from the sides of the bowl.
5. Divide dough in half and wrap in wax paper. Refrigerate dough for 2 hours. (Sounds like a long time, but its crucial to the process)
6. Preheat oven to 375 degrees.

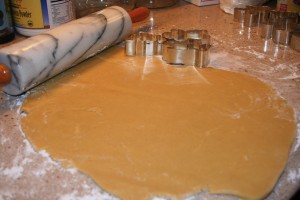
7. Sprinkle area where you’ll roll out dough with powder sugar. Sprinkle rolling pin with powder sugar.
8. Take one of the dough balls and roll out to 1/4 inch thick.


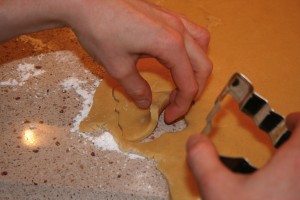
9. Use cookie cutters to cut dough into desired shapes, making sure to keep dough cool while working.


10. Place cookies on prepared (I suggest parchment paper as mine stuck a little on a greased pan) baking pan 1 inch apart.


11. Bake for 7 to 9 minutes, turning around half way through. Let cookies sit for 2 minutes after taking them out of the oven. Let cool on wire rack and then ice and decorate as desired. Ice away and enjoy!

*For icing I just combined powder sugar, vanilla extract, and rice milk until its slightly thick and tastes just right!


* Makes 3 dozen cookies
* Store in air tight container for up to 1 week
* Recipe Source: Based on Alton Brown’s recipe for Sugar Cookies http://www.foodnetwork.com/recipes/alton-brown/sugar-cookies-recipe/index.html, Adapted by Madison Sommerfield

Madindy on Etsy

Madindy on Etsy

At the end of this wonderful Thanksgiving Day I’m excited to announce that I’ve opened my Etsy Shop! Yeahhh! So excited, as I’ve been working on this for a while now. There are now a few items posted and it’s up an running, so very thankful for that.

Etsy.com is an online marketplace for handmade and vintage items. If you’re new to Etsy you’ve been missing out. It’s a great place for Christmas shopping.

My Etsy site is http://www.etsy.com/shop/madindy.

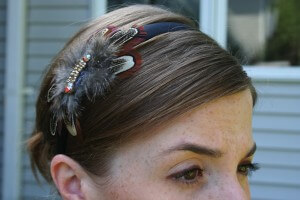
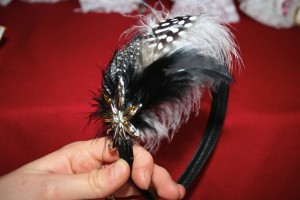
The first part of my Etsy shop that I’ve launched is handmade headbands with feathers and antique jewelry. I design and make each piece myself. Check out my Etsy site for the items still available for sale.

The headband above is still for sale on Etsy, along with others. And below are headbands that I’ve already sold to a boutique and individuals. These have sold like hotcakes, so check out the ones still available by clicking this link http://www.etsy.com/shop/madindy. They make great Christmas presents and are great to wear to parties this time of year!

*A special thanks to my lovely friends for being my models!

Baked Spaghetti Squash Casserole

Baked Spaghetti Squash Casserole


Fall is really setting in and squash of all sorts are filling the produce isles of supermarkets everywhere. I always love to see the crazy varieties that abound, but often wonder how to prepare them. Maybe you’ve thought the same thing. That’s why, in addition to my typical cool weather recipes, I’m cooking with squash in a variety of ways throughout the season. Hope you’ll continue to tag along for the journey.

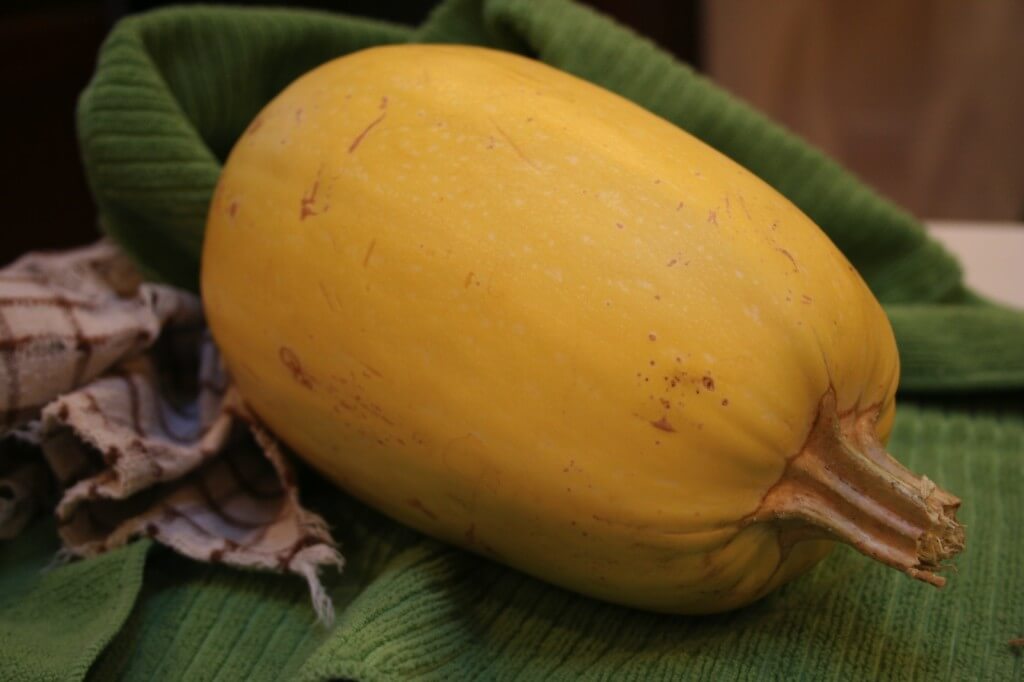
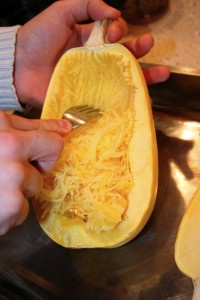
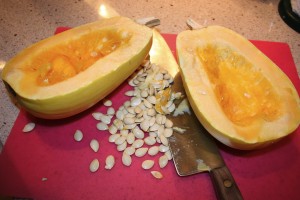
I’m starting out the squash adventure with Spaghetti Squash. When pulled apart with a fork the interior of this buttery beauty looks much like spaghetti noodles, hence the name. And the squash “noodles” can be used in place of regular spaghetti noodles in a variety of dishes. The benefits of using squash instead of pasta noodles include: lower in calories, gluten free, and the additional nutrients from the vegetable.

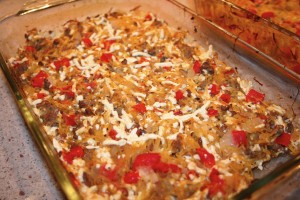
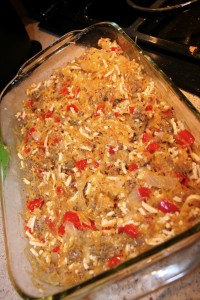
I’m starting out with Baked Spaghetti Squash Casserole with beef and vegetables. I was seriously impressed with this recipe. Its really tasty and even if you don’t like the taste of squash I think you’ll enjoy this one because it the dish really melds into its own flavor.

Ingredients:
1 spaghetti squash, cut in half and seeds removed
1 pound ground beef
1/2 cup red pepper, diced (I used 1 cup red pepper total and no green pepper)
1/2 cup green pepper, diced
1/4 cup onion, diced (I used more like 1/2 cup)
1 clove garlic, diced
1 (14.5 oz.) can Italian-style diced tomatoes
1/2 teaspoon dried oregano
1/2 teaspoon dried basil
1/4 teaspoon salt
1/4 teaspoon pepper
2 1/4 cup shredded cheese (I used Daiya Rice Cheese substitute)


Directions:
1. Preheat oven to 375 degrees.
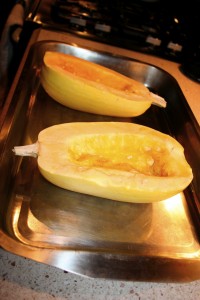
2. Place squash on baking sheet and bake for 40 minutes or until tender. Then cool and pulp with a fork.

3. Reduce oven temperature to 350 degrees.
4. In pan over medium heat cook beef is browned. Then drain and mix in peppers, onion and garlic. Continue to cook and stir until vegetables are tender.


5. Mix the shredded squash and tomatoes into the skillet and season with salt, pepper, oregano, and basil. Cook and stir until heated through. Remove from the heat and mix in 2 cups cheese until melted. Pour mixture into prepared casserole dish.


6. Bake 25 minutes in preheated oven. Sprinkle with remaining cheese and continue to bake until cheese is melted. Serve and enjoy!


* This recipe serves 2 to 4 people.
* Recipe Source: All Recipes http://allrecipes.com/recipe/baked-spaghetti-squash-with-beef-and-veggies/detail.aspx
* Additional Ideas: Add Italian Sausage instead of ground beef for even more flavor. Use whatever veggies you like to include, like leftover veggies in the fridge. (For instance try mushrooms and spinach).


Inhabit Photos

Inhabit Photos

As promised, here are some photos from, Inhabit, the plays I worked on doing set design. The scenes were set in an office building/warehouse, so my big challenge was to transform the spaces in just one night (I had lots of great help). Nothing was bought…everything was bought, borrowed, or temporarily stolen from cast or crew member’s homes.

I love before & after photos because they truly show transformation. So, here are the photos! There are a few scenes left out…taking photos during the craziness of the event was a challenge.

Before: The room used is a Dance Studio

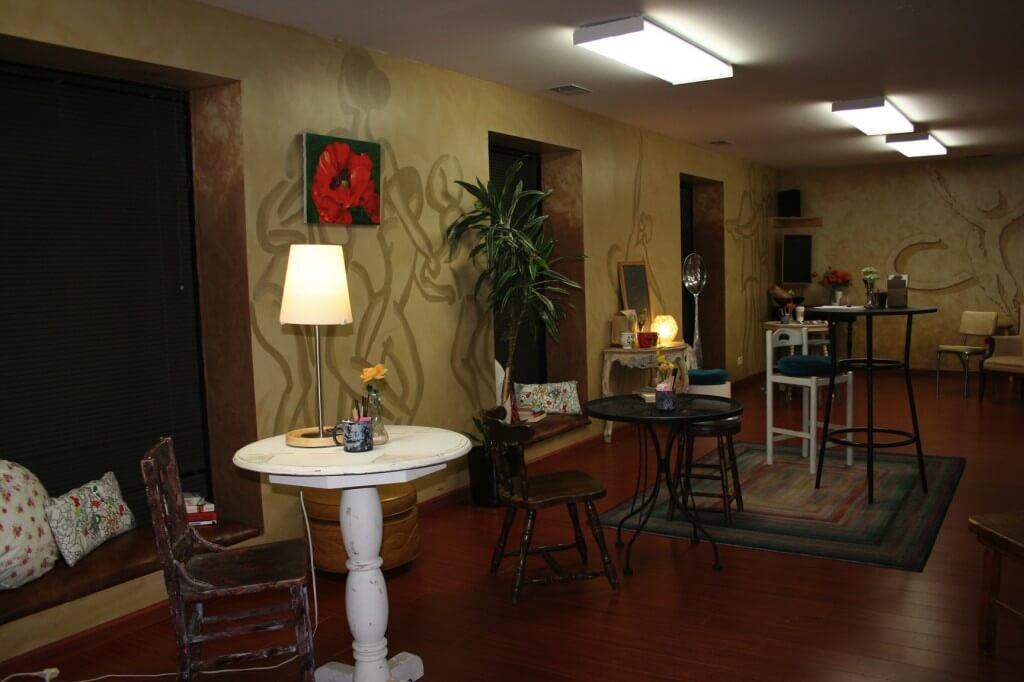
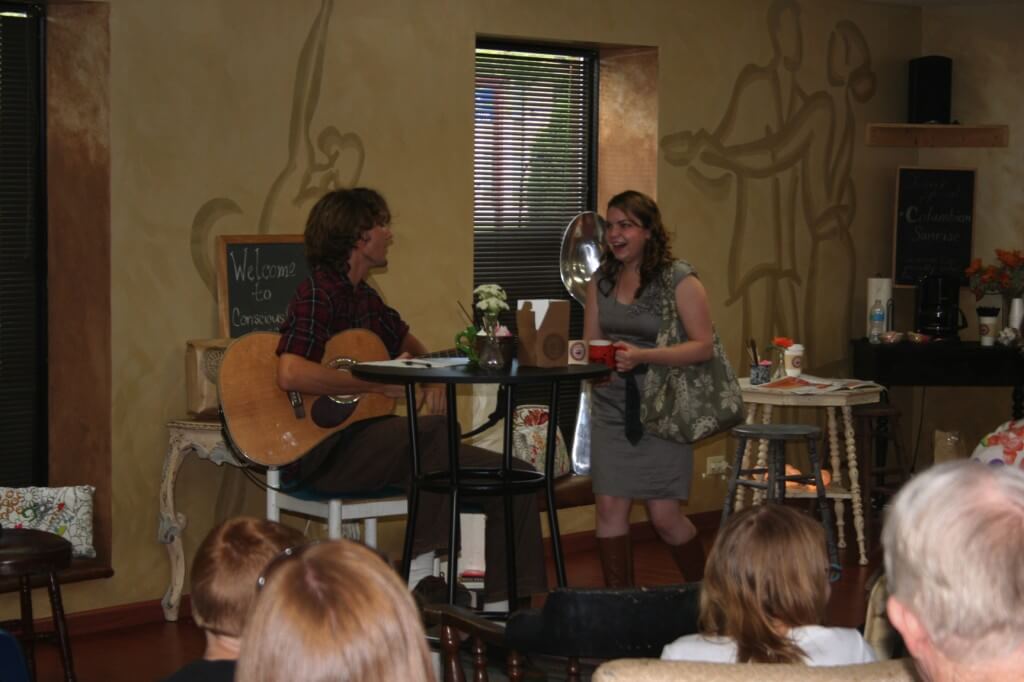
After: Independently owned, artsy coffee shop…think about hippies and the Portland scene

After: Coffee Shop Scene, Audience seated in a chairs of all shapes and sizes to add to eclectic feel of the scene


After: Coffee Shop Scene

Before: The room used is an Office Lobby

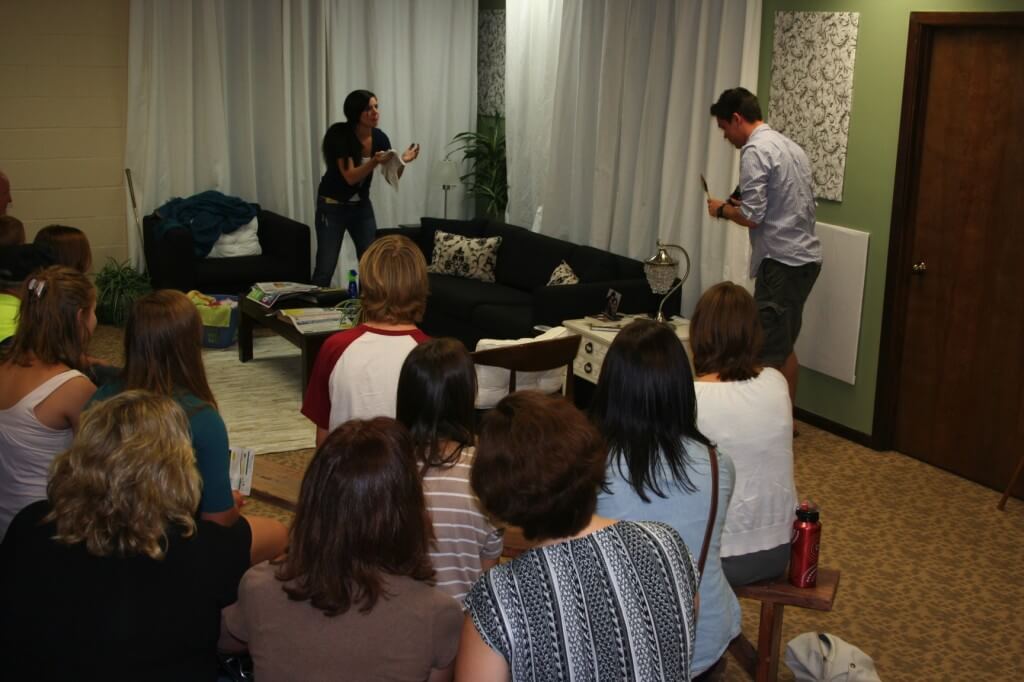
After: Living Room in the home of a young couple

After: Living Room Scene entitled “In the Ductwork”

After: The big challenge in this scene was covering the large posters on the walls and hanging the curtains without hanging anything in the walls. Thanks to Rachel Rack, a lot of fishing line, and a drop ceiling…mission accomplished.

Before: The room used is a Conference Room

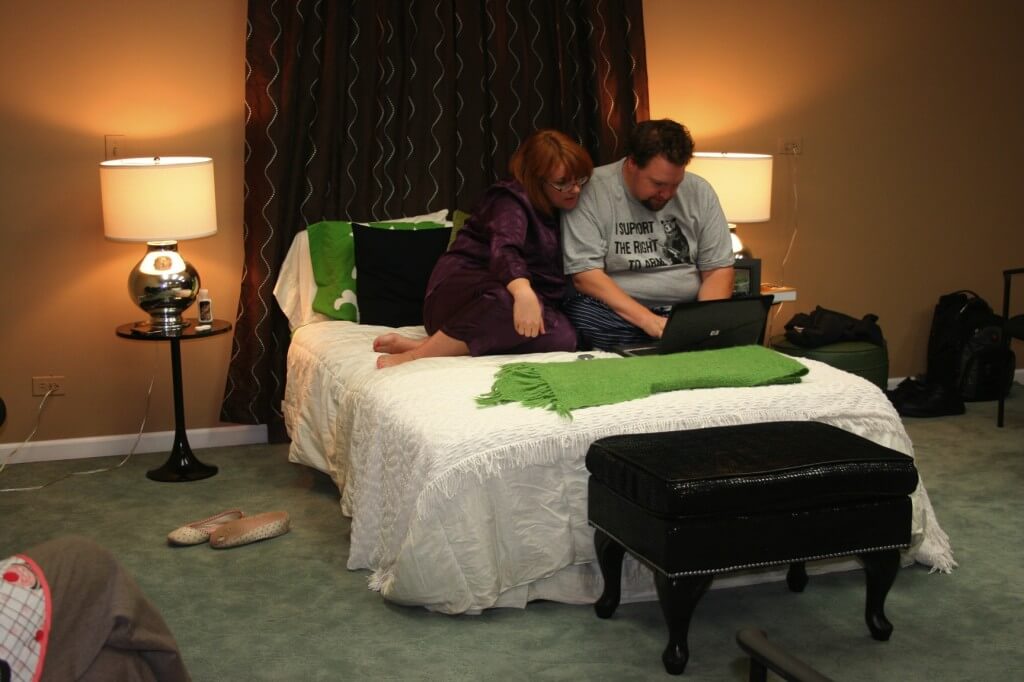
After: This scene takes place in a Bedroom. Scene called “I Can’t Remember It Right Now”

Before: The room used is an Office Kitchen

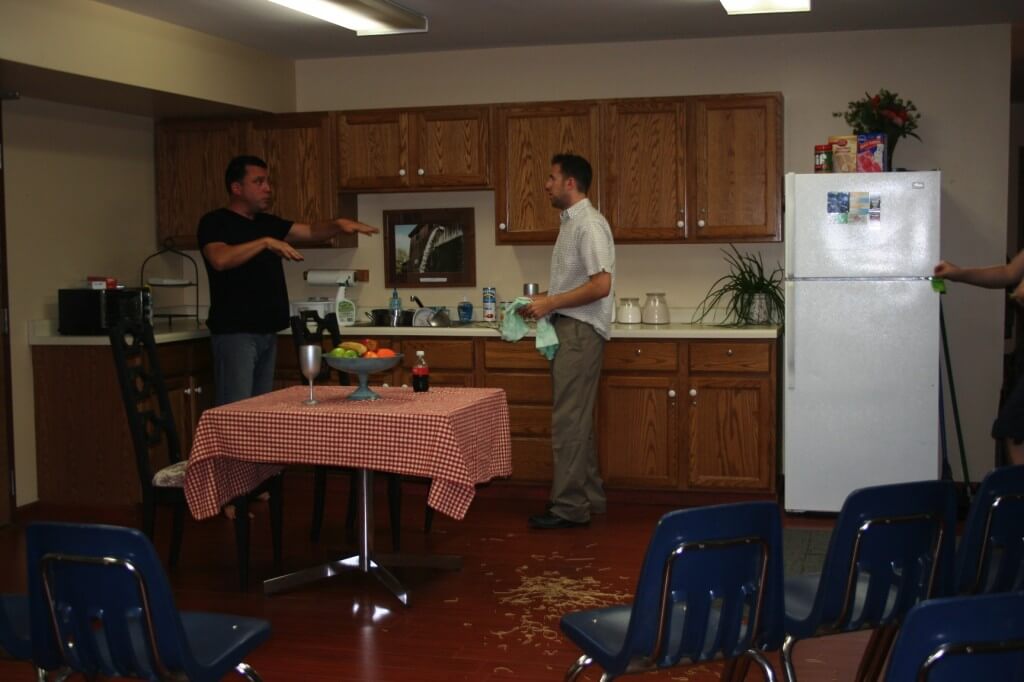
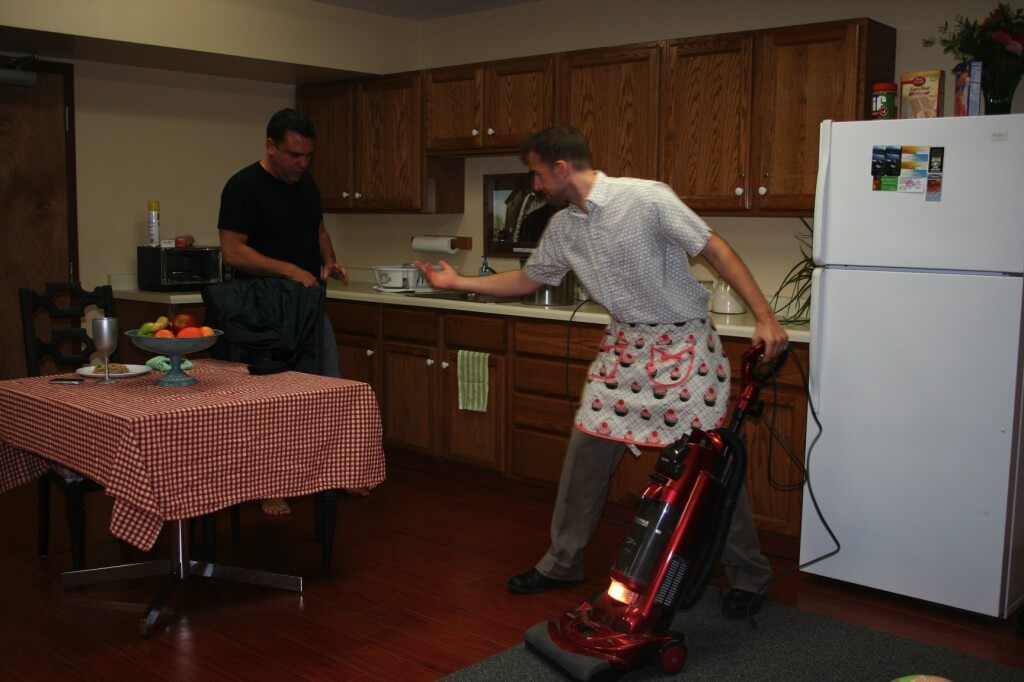
After: Kitchen in an apartment, scene from “The Odd Couple”

After: “Odd Couple” Kitchen Scene…and yep that’s my hubby Matt playing Felix Unger…My personal favorite scene but I guess you could call me biased.

Inhabit: Scenes in a Warehouse

Inhabit: Scenes in a Warehouse

I’ve been really busy lately working on a new project…always got my hands in a new project I suppose. I’m the set designer for Inhabit: Scenes in a Warehouse this year.

What is Inhabit?
Inhabit is an annual show that is a series of short plays performed in nontraditional spaces. This year the plays are going to be performed in the Christian Youth Theater warehouse and office spaces. Musicians will perform and lead the audience through the various spaces from one scene to the next. The plays will be followed by an art show, where local artists will be showing and selling their work.

Inhabit was started by actor/director, Kellee Stall as a way to “provide a safe place for artists to tell a story with excellence and to validate the artists through compensation.” And mission accomplished that’s just what has happened with Inhabit. Actors, designers, musicians, and artists all get to create together to make something wonderful to share with others and actually get compensated to do it. As any artist knows, we use our skill often for free so to be compensated is an amazing aspect of the project.

How am I Involved?
My job as the set designer is to transform an office lobby into a living room, a dance studio into a coffee shop, a conference room into a bedroom, an office kitchen into an apartment kitchen, a warehouse into a garage sale, and a truck port into a park. Needless to say I’ve got my work cut out for me. I’ve had some great help along the way from Kellee Stall and Rachel Rack as this is my first time to do set design. These women are guiding me along through all the crazy amounts of details.

Also, I should mention my hubby is one of the actors this year, so its fun to be working on a project together.

How Can You See the Show this Year?
It’s a one day only show. Limited seating available. This Saturday, August 27th. Shows at 1pm, 4pm, and 7pm. Ticket reservations required by calling 847-447-6696 or emailing Inhabit2011@gmail.com. Tickets $5 each. Address: 755 Industrial Blvd, Cary, IL 60013.

Check out Inhabit’s Facebook page here: #/event.php?eid=117849454975104

Inhabit was just featured today in the Northwest Herald’s Sidetracks section’s front page. Check out the article here: http://www.nwherald.com/2011/08/24/musicians-actors-inhabit-cary-warehouse-for-unique-event/amt2mmv/

I’ll be sure to share photos of the set soon after the show!

Start Gardening: Part 5

Start Gardening: Part 5

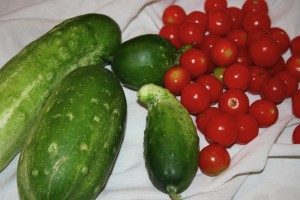
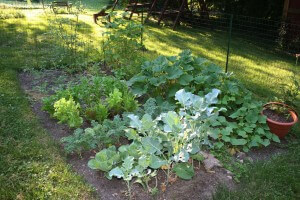
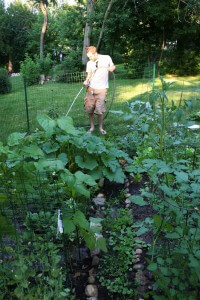
I was thrilled as I approached my garden and saw such large leaves and tall plants, thinking about how much it has grown. And then upon getting closer I jumped with joy at the site of produce ripe and ready to be picked…There it all sat ready for me…zucchinis, kale, tomatoes, cabbage, green beans, and cucumbers!

I think this is the most fun time of year to have a garden because its beginning to be harvest time! This year we’ve put quite a bit of work into our garden, so its really nice to be reaping the fruits of our labors.

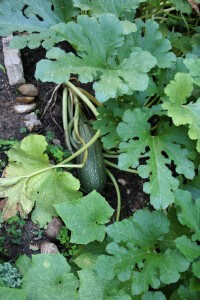
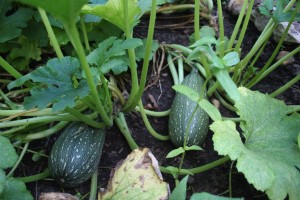
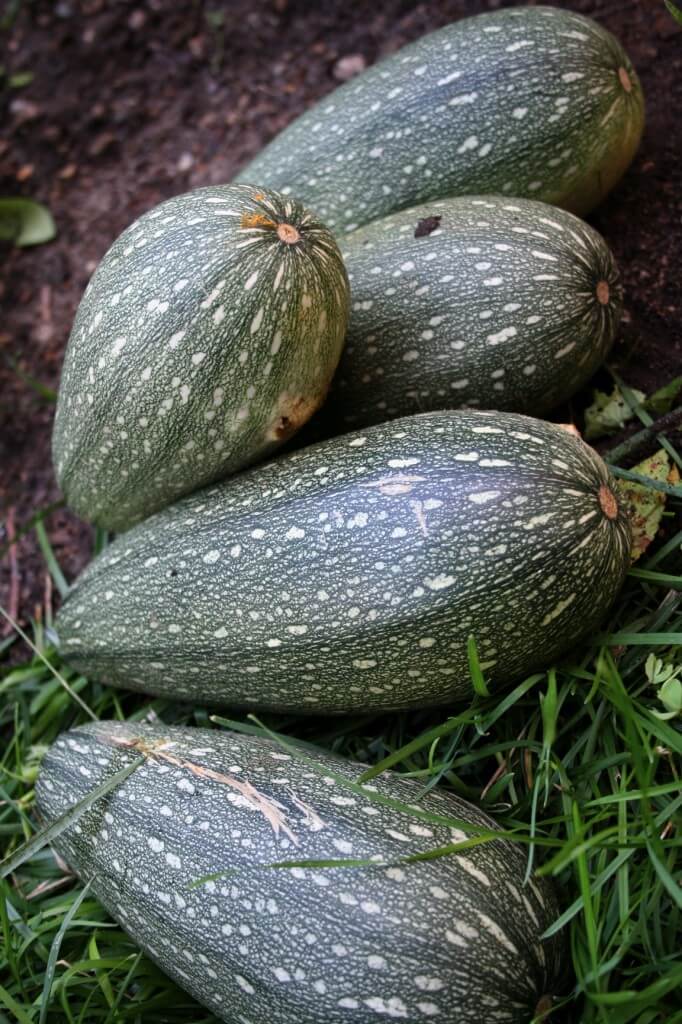
We left our garden with bags of produce; plenty to eat and some to share. I think our most exciting harvest were the zucchinis. As I approached them, all I could think, “is that this was not what I thought I planted.”

I thought I had planted the regular small, dark green zucchinis that you see in the grocery store. When in fact what I had planted are quite large and have white stripes on them. Sure enough after some research Matt and I discovered that what we had were Cousa Squash. These are middle eastern summer squash that is larger and thicker than regular zucchinis with whitish, green striping. They have a bit of a nuttier flavor than regular zucchinis as well.

We wondered what to do with these squash? I’ve never even heard of them. How do I prepare them?

I’m very excited to say, I’ve found quite a few ways to prepare them and can’t wait to share with you. So, look forward to my upcoming posts on various ways to use your zucchinis or cousa squash.

Fresh Blooms: Bring ‘em Indoors

Fresh Blooms: Bring ‘em Indoors

Major power outage today in the Chicago’s Northwest suburbs, so I’m seeking refuge in a local coffee shop…never been so grateful for wi-fi, AC, a toilet I can flush and fresh water (we’re on a well, so no power means no flushing and no water as well), and fresh coffee (didn’t get it this morning before the power went out..and I’m no fun to be around if I don’t have coffee).

Apparently the power could be out for a few days, but I’m praying it’ll be back on much sooner. So, with the power out I thought it’d be a good day to show you how to bring the fresh beauty of the outdoors inside without much effort.

These are some Spring blossoms I brought indoors as they were blooming in my yard. First there was Lily of the Valley. These little bells of fragrance grow very low to the ground and often just look like ground cover growing around trees and in shaded flower beds. Often the leaves of this plant grow pretty thick and cover the blooms from sight, so clipping a few and bringing them indoors really displays their delicate beauty.
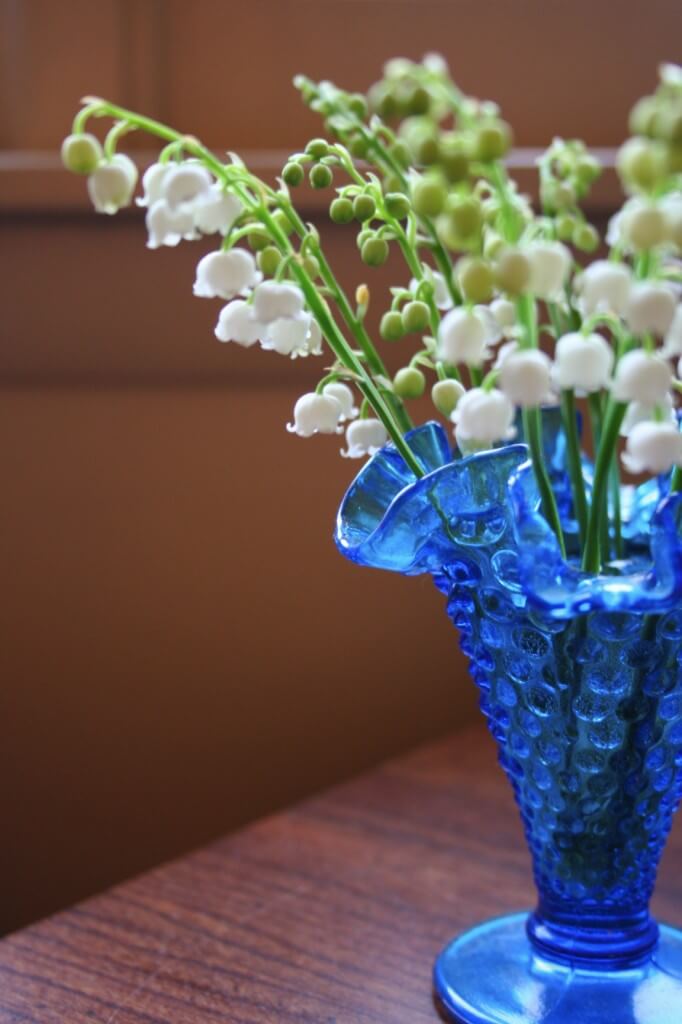
For Lily of the Valley I suggest placing a handful of blossoms in a colorful bud vase. Just this small cluster of blooms filled the whole living area of my home with a delightful fragrance…added bonuses of these buds! Keep their vase full of cold water and they’ll stay fresh for about a week.

Blooming next in my yard were the Lilacs. My whole neighborhood seemed to be filled with thick Lilac bushes this Spring. Lilacs grow in a variety of colors from purple to pink to white on rather large twiggy bushes. They are extremely fragrant, so a small cluster in a vase can really fill your home with a fresh scent. I’m not a fan of artificial lilac scents, but the real thing is delicious. Caution: some people are sensitive to their scent, but if you’re not, they’re perfect indoors. I suggest clipping a few twigs full of blossoms and placing them in a medium sized, clear vase. These cut flowers remained fresh in my home for about 4 to 5 days.

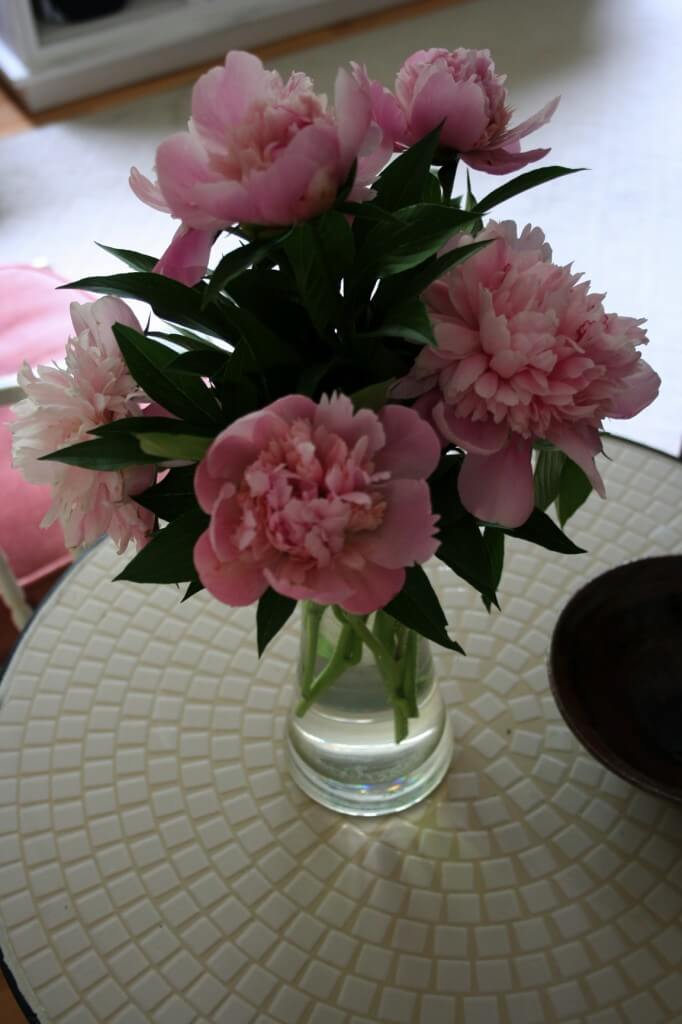
Popping up next in my yard were one of my favorites: Peonies. These delicate flowers grow in medium sized bush fulls in beds that receive partial sun partial shade. Peonies bring a truly romantic air to bouquets and vases everywhere from your home to a bridal bouquet…you can’t go wrong with these blooms, growing in varieties from dark pink to white.

I really think peonies are lovely in the natural bushes outdoors, but their beauty really seems to be displayed the best when they’re clipped and placed in a cluster in a medium to large sized clear vase in your home. They not only bring a fresh fragrance indoors, but add a touch of romance to your interior decor.
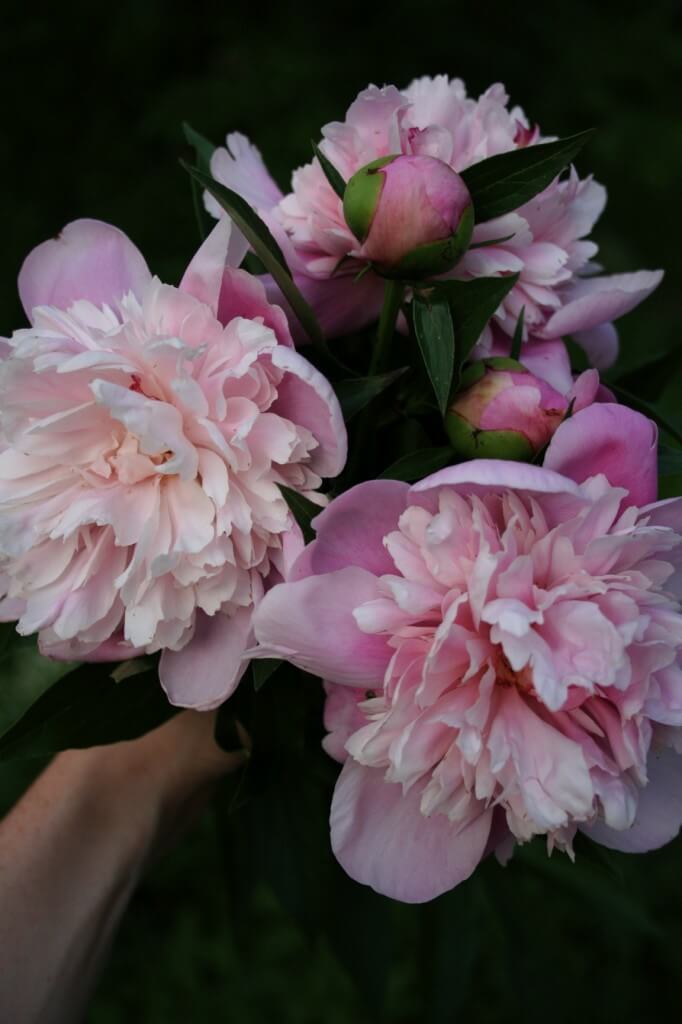
When you’re cutting a bunch of peonies, I suggest clipping half blossoms that are already mostly opened and half blooms that are in their bud form. This really seems to make your bouquet last the longest; mine lasted just over a week. Ok if you have peonies in your yard, I know exactly what you’re thinking…”They are always covered in ants outdoors. There’s no way I’m bringing them into my home.” Well, here’s your tip of the day…
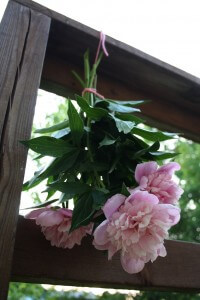
Clip the bunch of peonies, tie some string around the bouquet and hang upside down for about an hour on your porch or deck. With gravity working to your advantage, the ants will work their way out of all the nooks and crannies of the flowers and you can bring your bouquet indoors bug free! Timing wise, clip the blooms before a heavy rain hits, as the rain destroys the blooms on their bushes.

General flower clipping tips to keep your flowers lasting their best the longest indoors:
-Use sharp shears to clip flower stems
-Clip stems at an angle
-Clip the stems a little longer than you want them to be in their vase
-Clip stems outdoors, bring flowers indoors, fill vase with cold water, clip stems again and immediately place in vase
-Keep water in vase free of flower petals and leaves
-Change water in your vase at least every other day
-If its cooler in your home, the clipped flowers will last longer
-Don’t place clipped flowers inside sunny windows
-Clip some flowers that have already bloomed and some just before they bloom to make the bouquets blooms last the longest
-Remove dead or wilted flowers from your vase ASAP

I hope you’ve enjoyed these tips to help freshen your home, bringing the outdoors in. If you live in the Midwest, here are some blooms to start looking for in your yard right now and in the months to come: zinnias, black eyed susans, daisies, cone flowers, hydrangeas, roses, and sunflowers to name a few. Enjoy the season both outdoors and inside your home!
Start Gardening: Part 4

Start Gardening: Part 4

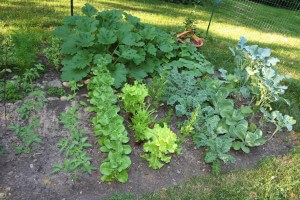
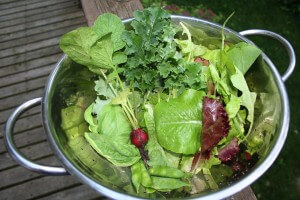
Its been a while since you’ve seen my garden plot and wow has it grown! We’ve harvested tons of lettuce (loose leaf, bibb, and spinach) and have made tons of garden fresh salads.

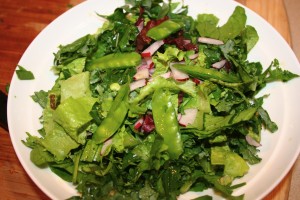
The great part about lettuce is that it continues to produce more delicious leaves after you pick them. We haven’t replanted the lettuce at all and yet we’re still getting more and more! I have to admit that I’m not much of a salad girl, but when it comes to garden fresh, I love it. Check out these tasty salads.
I’ve also started to pick kale and cabbage leaves and chop them in with my other varieties of lettuce for my salads. They’re both kind of bitter, but mixed in with the other varieties they add a great melody of flavors and tons of extra vitamins and minerals.

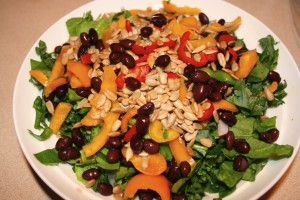
To turn this garden salad into a heartier dinner salad I added black beans, sunflower seeds, and sliced yellow and red peppers. With a simple olive oil and balsamic vinegar dressing (1:1 ratio of each) it brings the flavors all together.

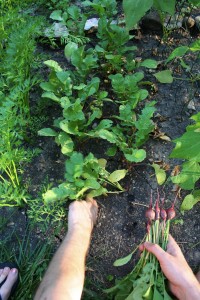
This is our second planting of radishes and they are a great addition to salads and a really spicy snack with hummus.

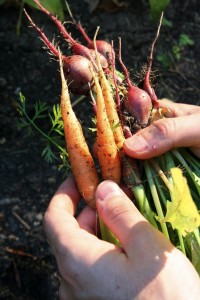
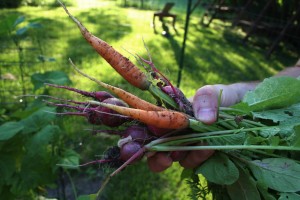
We’ve also recently harvested some small carrots. I must admit I was really a skeptic when it came to the carrots. I really didn’t think they would grow but much to my surprise, they proved me wrong.

My proud gardening hubby, very pleased with his harvest.

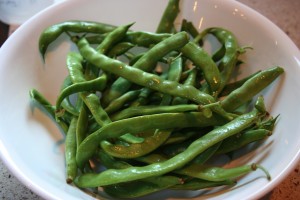
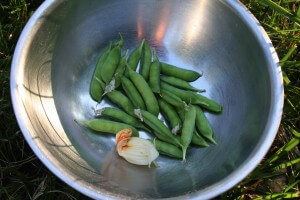
We’ve also picked a small bunch of really sweet peas and a few squash blossoms (post to come on how to eat these).

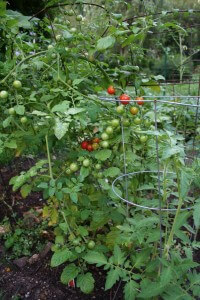
We haven’t really done anything special to get our garden growing along…just plenty of sunny days (provided by the Lord), water, and lots of love. Squash and tomatoes to come soon!